
Table of Contents
Table of Contents
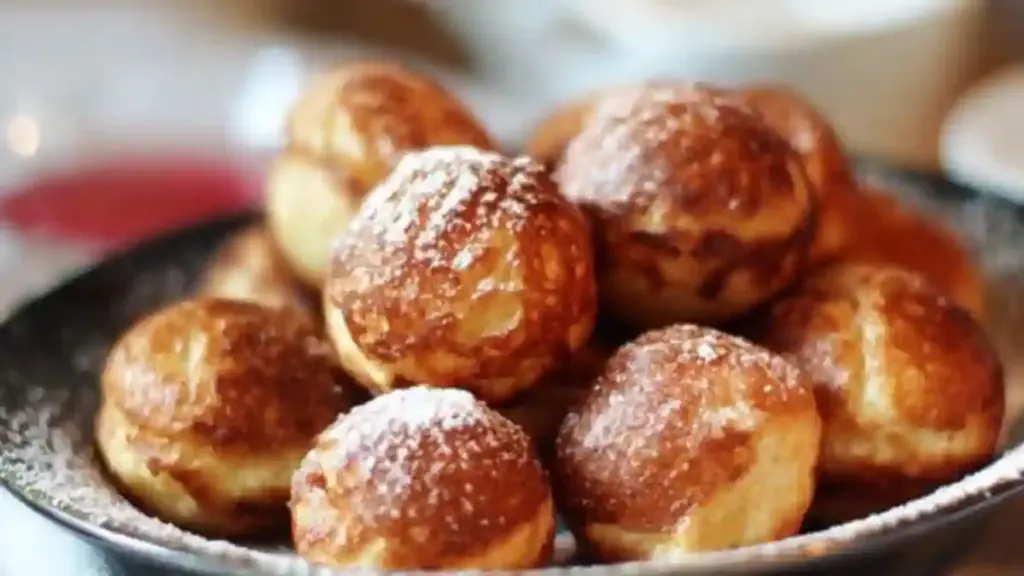
Have you ever found yourself craving something sweet and comforting that feels like a warm hug? I remember the first time I tried apple spheres—charming little Danish pancake balls filled with tender apple pieces and kissed with the warmth of cinnamon. It was a chilly afternoon in my grandmother’s kitchen, and the smell of these golden treats sizzling in the æbleskiver pan danced in the air. These charming spheres have a special place in my heart; every bite takes me back to lazy weekend breakfasts filled with laughter and love.
The beauty of this recipe for Apple Spheres – Danish Pancake Balls is the delightful combination of crispy outer shells and soft, pillowy interiors bursting with juicy apple bites. While many pancake recipes might leave you feeling heavy, these spheres are light and airy, perfect for a sweet brunch or an indulgent treat any time of the day.
What sets my version apart? It’s all about the quality ingredients, the little tips I’ve learned from family trials and errors, and a touch of nostalgia that makes this dish not just food, but a heartfelt experience. Stick around, and I promise you’ll learn how to whip up these little bundles of joy, impress your loved ones, and maybe even spark a few cherished memories of your own.
What Are Apple Spheres – Danish Pancake Balls?
The origins of apple spheres lie in Denmark, where they are known as “æbleskiver,” which translates to “apple slices.” Traditionally enjoyed during holidays or special occasions, these delightful treats were primarily made to celebrate gatherings. The name itself is an homage to their apple-filled interior, though they’ll surprise you with various delicious fillings!
The taste and texture of these pancake balls are what make them utterly irresistible. When you first bit into one, you’re welcomed by a crispy, golden exterior that gives way to a fluffy and moist interior. The slight sweetness from the sugar, coupled with the tartness of apples, creates a contrasting flavor profile that dances on your taste buds.
These delicious little spheres are perfect for breakfast, coffee breaks, or as a fun dessert. You can whip them up when hosting brunch for friends or cozying in with family on a rainy weekend—they are sure to be the star at any table.
Why You’ll Love This Recipe
Homemade Delight vs. Store-Bought: I’ve tried many store-bought versions, but nothing compares to the warmth and love that pouring your heart into these apple spheres can bring. Store-bought treats often fall flat with their overly sweet, pre-packaged taste. Making them at home ensures freshness and endless customization!
Budget-Friendly: One of my favorite aspects of making these apple spheres is how cost-effective they are. You’ll only need a handful of simple ingredients, many of which you likely already have in your pantry—saving your wallet while delivering big flavor.
Customization Galore: Feeling adventurous? You can infuse your batter with different flavors—from vanilla to almond—experiment with different fillings (hello, chocolate chips!), and get creative with toppings. The possibilities are genuinely endless!
Simple Yet Impressive: While they might look like a culinary feat worthy of a restaurant, they truly are beginner-friendly and don’t require any fancy skills. With just a little practice, you’ll become a pro in no time.
Family Fun: This recipe lends itself well to family fun in the kitchen! Kids love helping with the batter and can even join in on turning the spheres. Making apple spheres is the perfect opportunity to create memories, possibly rivaling those I made with my grandma.
Ingredients
To create your own scrumptious apple spheres, gather the following ingredients:
- 1⅔ cup (4dl) buttermilk: It adds a lovely tang and helps create a soft batter.
- 0.9 oz (25g) fresh yeast: This is essential for the delightful fluffiness!
- 2 teaspoons sugar: Just a touch for sweetness.
- 1 teaspoon Danish vanilla sugar or vanilla extract: Infuse your batter with warmth.
- ½ teaspoon salt: Balances the sweetness.
- 4 eggs: When separated, they provide richness and structure.
- 2 cups (250g) flour: The base of your batter; use high-quality all-purpose flour.
- Lard or oil for frying: Adds flavor and ensures proper cooking.
Ingredient Notes:
- Buttermilk: If you don’t have buttermilk, substitute with regular milk mixed with a splash of vinegar or lemon juice.
- Fresh Yeast: You can also use active dry yeast; just account for a different activation method.
- Eggs: I always recommend using free-range or organic eggs for the best flavor.
Prep Notes:
- Ensure all ingredients are at room temperature for perfect batter consistency!
Step-by-Step Instructions
Step 1: Preparing the Batter
Heat the Buttermilk: Gently heat your buttermilk until it’s lukewarm—be careful not to overheat; we don’t want curdled buttermilk!
Dissolve the Yeast: Crumble the fresh yeast into a large mixing bowl. Add in the sugar, salt, and vanilla sugar, then slowly pour in the lukewarm buttermilk. Stir until everything is dissolved.
Mix in the Egg Yolks: Separate the egg yolks and whites (don’t discard the whites!). Add the yolks into the yeast mixture and stir until well combined.
Add the Flour: Gradually mix in the flour until a smooth batter forms.
Beat the Egg Whites: In a separate bowl, whip the egg whites until foamy and fluffy. This will give your spheres that enticing, light texture.
Fold in the Egg Whites: Gently fold the whipped egg whites into the batter. Be careful not to deflate it!
Step 2: Let It Rise
- Rise: Cover your bowl with a kitchen towel and let the batter rise for about one hour at room temperature or slightly warmer until it doubles in size.
Step 3: Frying Time
Prepare the Pan: Pour some lard or oil into each well of the æbleskiver pan. Heat it on medium-high; you want a temperature that will browns evenly.
Pour the Batter: Transfer your lovely batter into a pitcher, making pouring easy. Fill each well to the edge.
Fry: When they turn golden brown and crispy, it’s time to flip! Use a skewer or chopstick to turn each sphere. Continue adding more lard to the wells as needed; it’ll enhance the crispiness.
Finish Cooking: Fry until the other side is also golden brown—this should take about 2-3 minutes per side.
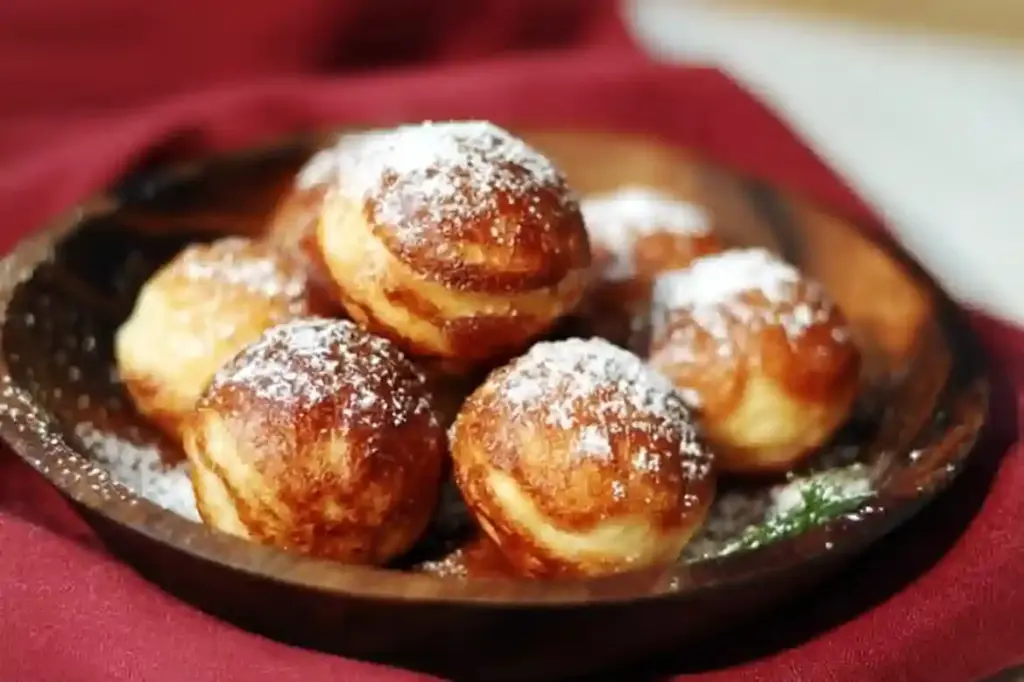
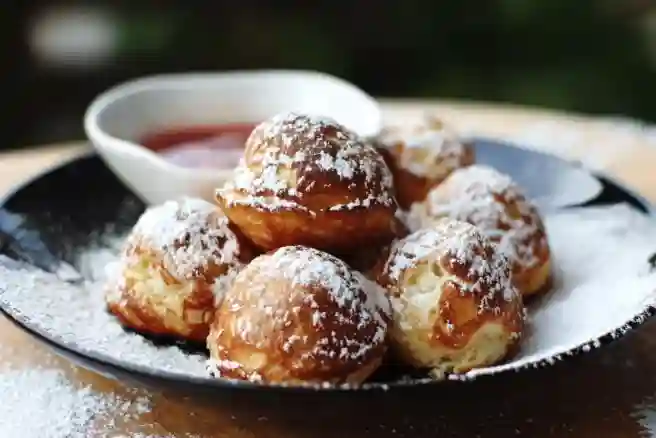
Serve: The moment they’re done, use a dusting of powdered sugar for the finishing touch, and serve them warm with your favorite jams and gløgg for an authentic Danish touch!
Chef’s Tips:
- For perfectly round spheres, be sure to turn them gently but quickly!
- Common mistakes to avoid: Don’t overcrowd the æbleskiver pan; give them room to expand and brown.
Expert Tips & Tricks
- Avoid Soggy Spheres: Ensure your batter isn’t too runny; if it is, add a touch more flour.
- Storage Recommendations: Store any leftovers in an airtight container. They will keep well for about 2-3 days in the fridge.
- Make-Ahead Instructions: You can prepare your batter a day in advance—allow it to rise, then keep it covered in the fridge overnight. Just remember to bring it back to room temperature before frying!
- Troubleshooting: If your batter doesn’t rise as expected, check that your yeast is fresh. If it still doesn’t rise, it might be a tad cold; a warmer environment can boost its performance.
- For Extra Fluff: Always whip your egg whites just before using them—this ensures they keep their aeration.
Serving Suggestions
These delectable apple spheres are best served fresh off the pan, but here are some ideas to elevate your serving game:
- Pair with whipped cream or Greek yogurt for a luscious finish.
- Present them on a beautiful platter dusted with powdered sugar, perhaps garnished with fresh mint or orange zest for a pop of color.
- Perfect for family brunches, cozy evenings by the fire, or holiday gatherings.
Variations & Substitutions
- Flavor Infusions: Why not experiment with fillings? Consider mixing in chocolate chips or pear slices for different flavor profiles.
- Dietary Adaptations: For a gluten-free option, use a gluten-free baking blend in place of regular flour.
- Seasonal Twists: In the fall, add cinnamon or nutmeg to your batter for a delightful spiced version. Spring? Consider using berries or citrus zest.
Nutrition & Storage Info
- Prep Time: 30 minutes
- Cook Time: 20 minutes
- Total Time: 50 minutes
- Yield: About 20 apple spheres (depending on size)
- Estimated Calories: Approximately 70 calories per sphere
- Storage: Store at room temperature for 1-2 days or in the fridge for up to 3 days. You can freeze them for longer storage—just reheating in an oven for a few minutes brings back their beauty.
FAQ Section
Can I use almond milk instead of buttermilk?
Yes, but I would recommend adding a teaspoon of vinegar to sour it slightly for a better texture.What should I do if my batter didn’t rise?
Ensure your yeast is fresh and that the batter has been kept in a warm environment during the rising stage. An oven with the light on works wonders!Can I make these in advance?
Absolutely! Prepare the batter the night before, let it rise, and refrigerate. Just let it come to room temperature before frying.How do I know when to flip them?
A lovely golden brown color is your cue! Use a skewer or chopstick to peek underneath before flipping.Can I add spices to the batter?
Yes! Cinnamon or nutmeg would add a wonderful warmth to the batter.Are there any good dips for these?
Yes! Try serving them with maple syrup, homemade caramel sauce, or a fruity compote.What’s the best way to store leftovers?
Keep them in an airtight container at room temperature for a day or two, or refrigerate for longer-lasting sweetness.Can I use vegetable oil instead of lard?
Yes, though lard adds a richer flavor. Coconut oil is also a solid alternative for a vegan option.How do I prevent them from sticking?
Ensure your pan is well greased with lard or oil throughout the cooking process. If using non-stick, keep it greased well!Can I use powdered sugar on top?
Totally! A light dusting of powdered sugar is classic. You can also flavor it with cocoa powder for an extra twist!
Conclusion
This recipe for Apple Spheres – Danish Pancake Balls is truly special, combining nostalgia, flavor, and a sprinkle of love in every bite. I encourage you to whip up these delightful spheres and share them with your family and friends; I promise they’ll soon become a household favorite. Don’t forget to drop your feedback and personal experiences in the comments—as I love hearing your stories!
If you’re looking for more cozy recipes, check out my blog for rich cinnamon rolls and warm apple cider donuts—perfect companions to your apple spheres on those chilly mornings!
Happy baking!
PrintFluffy Apple Spheres: Your New Favorite Danish Pancake Balls
Delightful Danish pancake balls filled with tender apple pieces and kissed with cinnamon, perfect for brunch or dessert.
- Prep Time: 30 minutes
- Cook Time: 20 minutes
- Total Time: 50 minutes
- Yield: About 20 servings 1x
- Category: Dessert
- Method: Frying
- Cuisine: Danish
- Diet: Vegetarian
Ingredients
- 1⅔ cup (4dl) buttermilk
- 0.9 oz (25g) fresh yeast
- 2 teaspoons sugar
- 1 teaspoon Danish vanilla sugar or vanilla extract
- ½ teaspoon salt
- 4 eggs
- 2 cups (250g) flour
- Lard or oil for frying
Instructions
- Gently heat the buttermilk until lukewarm.
- Crumble the fresh yeast into a bowl, add sugar, salt, and vanilla, then stir in the lukewarm buttermilk.
- Add egg yolks to the yeast mixture and stir until combined.
- Gradually mix in the flour to form a smooth batter.
- In a separate bowl, whip the egg whites until fluffy.
- Gently fold the whipped egg whites into the batter.
- Cover the bowl with a kitchen towel and let rise for about 1 hour until doubled in size.
- Pour lard or oil into the æbleskiver pan and heat to medium-high.
- Fill each well of the pan with batter and fry until golden brown and crispy, about 2-3 minutes per side.
- Dust with powdered sugar and serve warm.
Notes
For extra fluff, always whip egg whites just before using them. Store leftovers in an airtight container for up to 3 days.
Nutrition
- Serving Size: 1 sphere
- Calories: 70
- Sugar: 2g
- Sodium: 150mg
- Fat: 3g
- Saturated Fat: 1g
- Unsaturated Fat: 2g
- Trans Fat: 0g
- Carbohydrates: 10g
- Fiber: 0g
- Protein: 2g
- Cholesterol: 20mg


