
Table of Contents
Table of Contents
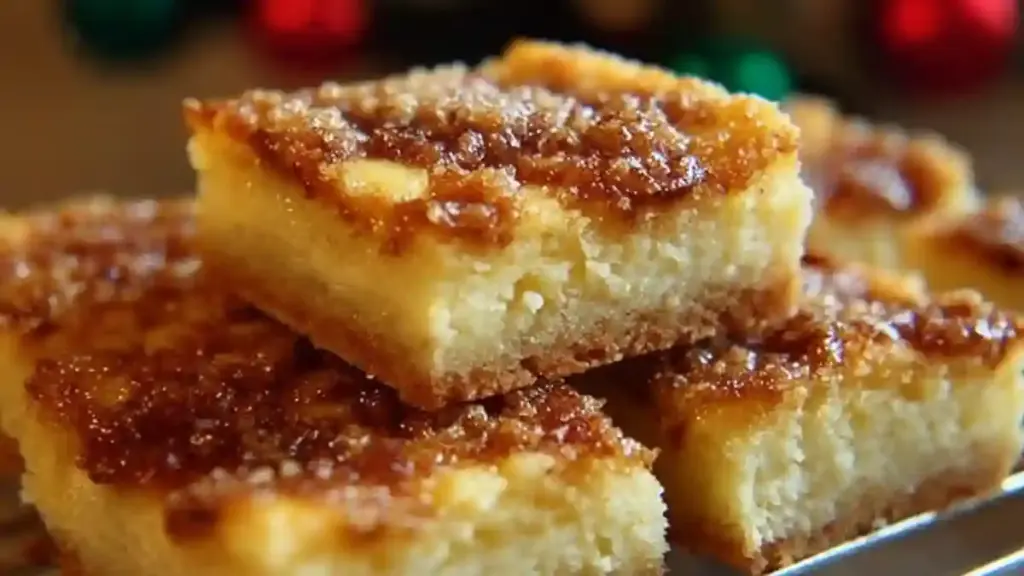
I remember the first time I encountered crème brûlée at a fancy restaurant—a delightfully creamy custard topped with a caramelized sugar crust. I was instantly captivated! As an avid home baker, I’ve always dreamt of bringing that classic dessert experience into a new form, which led me to create these Decadent Creme Brulee Cookie Bars. Trust me, these bars will take you on a journey through luscious buttery flavours and toasty hints of caramelized goodness, all in one delightful bite.
What sets these bars apart from the run-of-the-mill cookie or dessert bar recipes? It’s quite simple: the unique fusion of flavours, incredible texture, and sheer ease of preparation. The creamy white chocolate melds beautifully with the toffee bits. At the same time, the melt-in-your-mouth crust offers a satisfying crunch that resonates with memories of family gatherings and cosy evenings.
In this recipe, you’ll not only learn how to whip up these indulgent treats but also discover the joy of creating memories around the kitchen table. So roll up your sleeves and let’s dive in!
What Are Creme Brulee Cookie Bars?
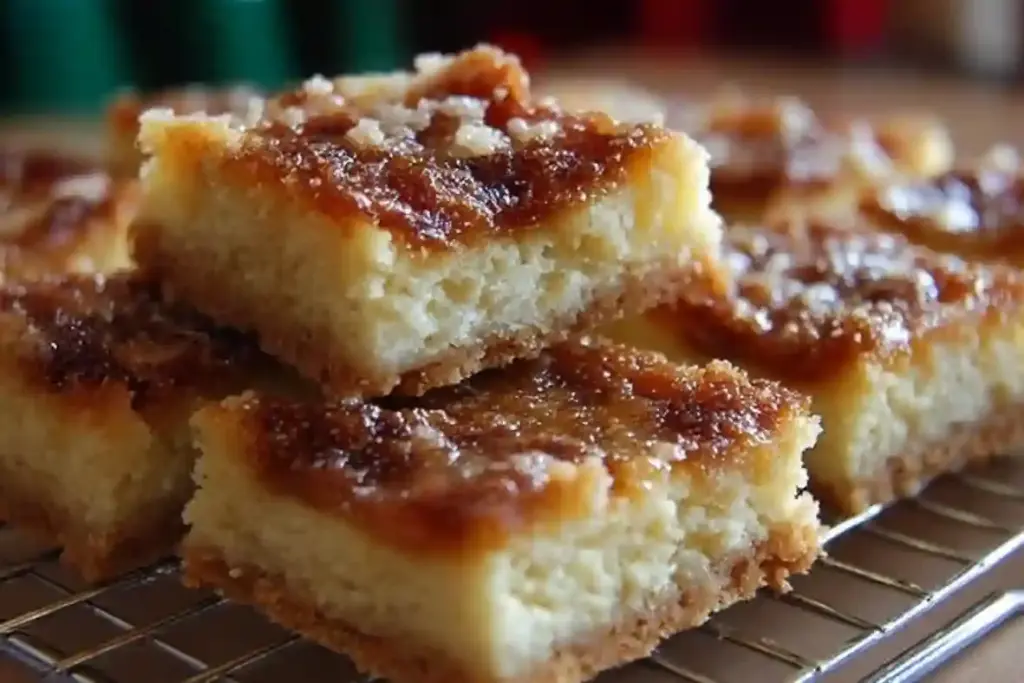
Creme Brulee Cookie Bars are a delightful take on the classic French dessert, known for its dual texture of creaminess topped with a crispy caramel layer. These bars capture that rich essence in cookie form, offering a playful way to enjoy crème brûlée without the hassle of traditional baking methods. Each bite offers a luscious white chocolate blend paired with a buttery, crumbly base and a sweet toffee crunch.
They’re perfect for any occasion—whether you’re hosting a potluck, celebrating a birthday, or simply indulging your sweet tooth on a cosy Sunday afternoon. They not only satisfy the craving for something sweet but also provide a nostalgic comfort that makes you feel right at home.
Why You’ll Love This Recipe
Here are four compelling reasons why you’ll adore these Creme Brulee Cookie Bars:
- Easier Than You Think: Unlike traditional crème brûlée, which requires baking and torching for that prized caramelized crust, these bars let you enjoy all the flavours with effortless assembly and bake time.
- Cost-Effective Indulgence: Making treats at home is always more economical than purchasing them from a bakery. With simple ingredients, you’ll create a batch that won’t break the bank! And let’s be honest, the satisfaction of making them yourself is priceless.
- Customisation Galore: Want to elevate the flavour? Try mixing in some toasted nuts, or swap in dark chocolate for a richer flavour profile. You can easily tailor these bars to your preferences—your imagination is the limit!
- Perfect for Any Skill Level: Breaking into the world of baking can be daunting, but this recipe is designed to be approachable. Even if you’re a novice in the kitchen, you’ll be amazed at how quickly you can become a dessert superstar.
So whether you’re a seasoned baker or a kitchen newbie, trust me—this recipe is a keeper!
Ingredients Section
To bake these Creme Brulee Cookie Bars, you’ll need the following simple yet delightful ingredients:
- 1/2 cup Unsalted Butter (make sure it’s at room temperature for optimal mixing)
- 12 oz White Chocolate Chips (about 2 cups or 350g; quality matters! Look for brands like Ghirardelli for a rich flavour)
- 1 1/4 cups All-Purpose Flour (155g; sifted to avoid clumps)
- 3/4 cup Granulated Sugar (149g; for that perfect sweetness)
- 1 tablespoon Vanilla Extract (15ml; use pure extract for the best flavour)
- 1/4 teaspoon Salt (a must for balancing sweetness)
- 3 large Eggs (local farm eggs can elevate the taste!)
- 1 cup Toffee Bits (to add a delightful crunch)
Take a moment to check your pantry! Using high-quality ingredients elevates this recipe from good to exceptional. For instance, try high-end white chocolate chips—they make the flavour pop!
Step-by-Step Instructions
Follow these simple steps to create your Creme Brulee Cookie Bars!
- Preheat Your Oven: Start by preheating your oven to 350°F (175°C). This ensures even baking.
- Melt Ingredients: In a medium saucepan over low heat, melt the unsalted butter and white chocolate chips together. Stir constantly until the mixture is smooth and silky—this shouldn’t take more than 5 minutes. Remove from heat and pour it into a large mixing bowl.
- Chef’s Tip: Be cautious while melting. If you overheat the mixture, the chocolate can seize!
- Mix in Sugar and Vanilla: Add the granulated sugar, vanilla extract, and salt to the bowl. Stir well to combine until a glossy mixture forms.
- Add Eggs: Next, add the eggs one at a time, stirring vigorously after each addition. You want your batter glossy and thick—this should take about 2-3 minutes.
- Incorporate Flour: Gradually add the flour to the mixture, mixing just until no streaks remain. Be careful not to overmix; we want tender bars!
- Prep the Pan: Line a 9×13-inch baking pan with parchment paper for easy lifting later. This is essential for clean cuts!
- Pour and Smooth: Pour the batter into the prepared pan, smoothing the top with a spatula.
- Bake: Bake in the preheated oven for 25 minutes. Keep an eye on them; your kitchen will start to smell heavenly!
- Add Toffee Bits: After 25 minutes, sprinkle the toffee bits evenly over the top of your bars. Return the pan to the oven and bake for another 5 to 10 minutes, until the edges are golden and the centre looks set.
- Cool Time: Allow the bars to cool completely in the pan on a wire rack. This step is crucial for achieving the desired texture.
- Slice and Serve: Once cool, lift the bars out of the pan using the parchment, slice into squares, and they’re ready to devour!
Common Mistakes to Avoid: Make sure not to overbake. You want a slightly soft centre as it will firm up while cooling.
Expert Tips & Tricks
- Storage Recommendations: Store these bars in an airtight container, at room temperature for up to 3 days. They last even longer in the fridge—up to a week!
- Make-Ahead Instructions: You can bake these bars a day ahead of your gathering. They taste even better the next day as the flavours meld.
- Troubleshooting: If your bars are too gooey, it may be due to underbaking. Ensure the centre is set before pulling them out.
- Freezing: For longer shelf life, freeze the bars for up to 3 months. Just be sure to wrap them tightly!
Professional Tip: Freeze individual squares in plastic wrap for easy storage and serving. This way, you can grab one whenever the sweet tooth strikes!
Serving Suggestions
Pair these delectable Creme Brulee Cookie Bars with:
- A scoop of vanilla bean ice cream for that extra creamy touch.
- Fresh berries to bring a juicy contrast.
- A dollop of whipped cream drizzled with caramel sauce for a jaw-dropping presentation!
These bars are perfect for casual gatherings or elegant dinner parties, making them a versatile addition to your dessert repertoire.
Variations & Substitutions
- Different Flavour Combinations: Want to shake things up? Try adding crushed ginger snaps for a spicy twist or a sprinkle of sea salt for a hint of those chocolate caramel vibes.
- Dietary Restrictions: You can make these nut-free by carefully checking your chocolate and toffee bits for hidden nuts. For a gluten-free option, substitute with almond or coconut flour.
- Seasonal Variations: In the fall, add in some pumpkin spice, or swap the toffee bits for peppermint candies during the holidays.
Nutrition & Storage Info
- Prep Time: 15 minutes
- Cook Time: 30 minutes
- Total Time: 45 minutes
- Yield: 12 servings
- Estimated Calories: Approximately 220 calories per serving (may vary based on ingredient brands)
Storage Instructions:
- At room temperature: 3 days
- In the refrigerator: 1 week
- In the freezer: Up to 3 months

FAQ Section
Can I make Crème Brûlée Cookie Bars ahead of time?
Yes, absolutely! Crème Brûlée Cookie Bars are perfect for making ahead. The flavours meld beautifully as they sit, and the custard filling sets up even more. You can make them a day in advance, making them ideal for parties or meal prep.
How do I store Crème Brûlée Cookie Bars, and how long do they last?
Store these bars in an airtight container in the refrigerator. They will stay fresh for about 3-5 days. Due to the creamy custard layer, refrigeration is essential to maintain their texture and prevent spoilage.
What kind of cookie base is best for these bars?
A simple, classic shortbread cookie dough or a sugar cookie dough works wonderfully as the base. You want a firm, slightly crumbly cookie that can support the creamy custard layer without becoming too soft or soggy. Some recipes might use a graham cracker or vanilla wafer crust for ease.
What’s the best way to get that signature “burnt sugar” topping?
To achieve the characteristic crisp, caramelised sugar topping of crème brûlée:
- Granulated Sugar: Sprinkle a thin, even layer of granulated sugar (or turbinado sugar for a coarser crunch) over the chilled custard layer just before serving.
- Culinary Torch: The most effective way is to use a culinary torch. Move the flame evenly over the sugar until it melts, bubbles, and turns a rich amber colour.
- Broiler (Alternative): If you don’t have a torch, you can place the bars under a hot broiler for a very short time (watch very closely, as sugar burns quickly!). This method is less precise and can warm the custard more.
Can I substitute the heavy cream in the custard?
For the creamiest, richest custard, heavy cream (also known as heavy whipping cream) is highly recommended. Half-and-half might work in a pinch, but using milk or lower-fat creams will result in a less rich and potentially less stable custard.
How do I know when the custard layer is set?
If your recipe calls for baking the custard, it’s done when the edges are set but the centre still has a slight wobble when gently shaken. It will continue to firm up as it cools and chills. For no-bake custard fillings, ensure adequate refrigeration time (several hours or overnight) to allow them to firm up.
Can I freeze Crème Brûlée Cookie Bars?
Freezing these bars is possible, but the torched sugar crust will likely lose its crispness and may become sticky upon thawing. The cookie base and custard filling can be frozen successfully. Wrap cooled, unfrosted bars tightly in plastic wrap, then foil, and freeze for up to 1-2 months. Thaw in the refrigerator, then add the sugar and torch just before serving.
What happens if my custard layer is too runny or too rubbery?
- Too runny: This usually means the custard was undercooked or not chilled long enough. Ensure proper baking time (if applicable) and give it ample time in the refrigerator to set completely.
- Too rubbery: This is a sign of overcooking. Overcooked custard can develop a rubbery or curdled texture. Follow the cooking times carefully and watch for the slight jiggle in the centre.
Can I add different flavourings to the custard?
Absolutely! While vanilla is classic, you can get creative. Consider adding:
- Almond extract for a nutty twist.
- A touch of orange or lemon zest for brightness.
- A sprinkle of cinnamon or nutmeg.
- A hint of espresso powder for a coffee-flavoured custard.
Conclusion
These Creme Brulee Cookie Bars are not just a dessert; they carry memories, flavours, and the warmth of family comfort. I encourage you to give this recipe a try—you’ll be utterly delighted! If you do, I’d love to hear your thoughts or see your creations in the comments below! For more delicious ideas, check out my other recipes that will sweeten your day, from classic brownies to seasonal tarts. Happy baking!
Strawberry Cookies – Sweet Bites of Delight
Pineapple Upside Down Sugar Cookies
PrintDecadent Creme Brulee Cookie Bars
A delightful twist on the classic crème brûlée, these cookie bars blend creamy white chocolate with a buttery base and toffee crunch.
- Prep Time: 15 minutes
- Cook Time: 30 minutes
- Total Time: 45 minutes
- Yield: 12 servings 1x
- Category: Dessert
- Method: Baking
- Cuisine: French
- Diet: Vegetarian
Ingredients
- 1/2 cup Unsalted Butter (room temperature)
- 12 oz White Chocolate Chips (about 2 cups or 350g)
- 1 1/4 cups All-Purpose Flour (155g; sifted)
- 3/4 cup Granulated Sugar (149g)
- 1 tablespoon Vanilla Extract (15ml)
- 1/4 teaspoon Salt
- 3 large Eggs
- 1 cup Toffee Bits
Instructions
- Preheat your oven to 350°F (175°C).
- In a medium saucepan over low heat, melt the unsalted butter and white chocolate chips together. Stir until smooth (about 5 minutes), then pour into a large mixing bowl.
- Add the granulated sugar, vanilla extract, and salt to the bowl. Stir until glossy.
- Add eggs one at a time, stirring vigorously after each addition (about 2-3 minutes).
- Gradually add flour, mixing until no streaks remain. Be careful not to overmix.
- Line a 9×13-inch baking pan with parchment paper.
- Pour the batter into the prepared pan, smoothing the top with a spatula.
- Bake for 25 minutes, then sprinkle toffee bits over the top.
- Continue baking for another 5 to 10 minutes until the edges are golden and center is set.
- Allow to cool completely, then slice into squares and serve.
Notes
Store in an airtight container at room temperature for up to 3 days or in the fridge for up to a week. Freeze for longer storage up to 3 months.
Nutrition
- Serving Size: 1 serving
- Calories: 220
- Sugar: 12g
- Sodium: 100mg
- Fat: 15g
- Saturated Fat: 9g
- Unsaturated Fat: 6g
- Trans Fat: 0g
- Carbohydrates: 30g
- Fiber: 1g
- Protein: 3g
- Cholesterol: 85mg


