
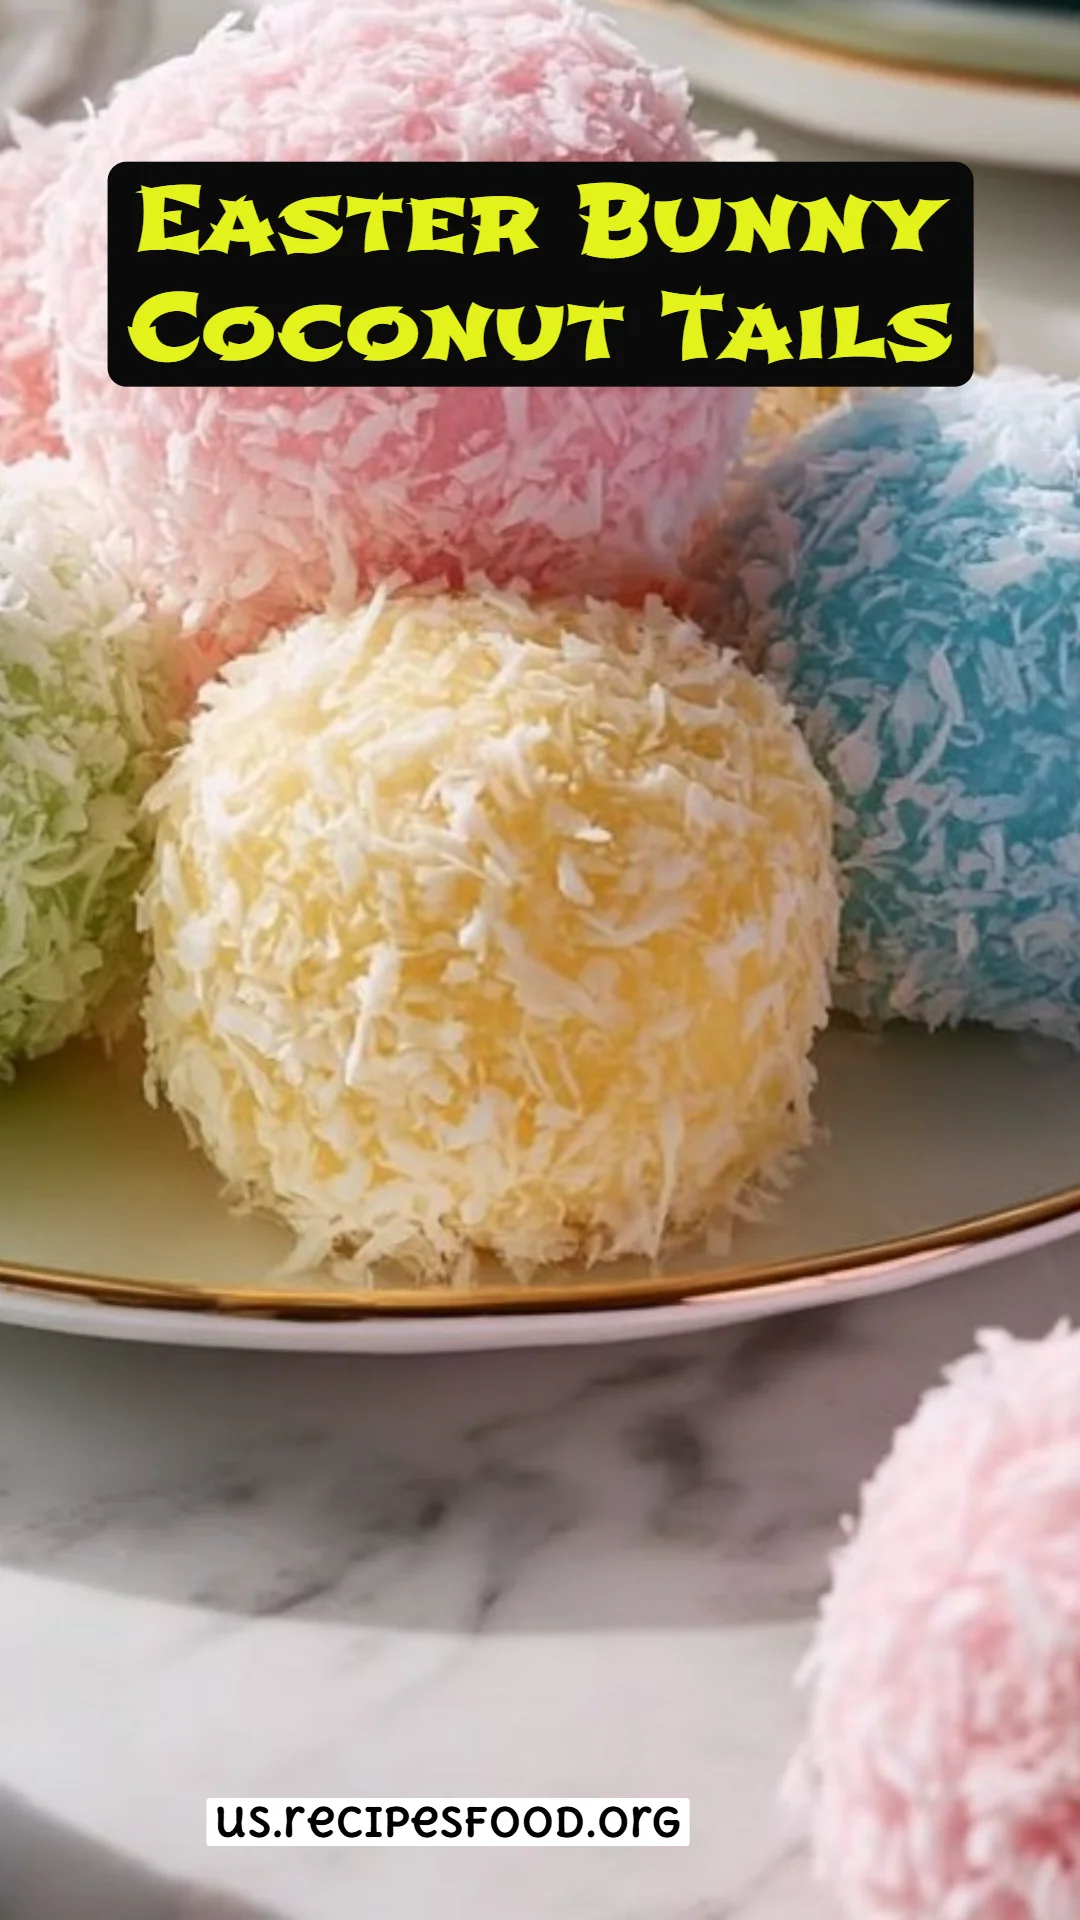
Delightful Easter Bunny Coconut Tails: A Sweet Spring Treat
As a child, Easter was always a whirlwind of pastel colors, egg hunts, and, of course, my favorite treat—coconut. I fondly remember spending sunny afternoons in the kitchen with my grandmother, meticulously crafting delightful treats that sparkled with sweetness, and in those moments, the joy of baking became my comfort food. This year, I’m thrilled to share my version of a beloved classic: Easter Bunny Coconut Tails. These charming little bites of coconut heaven not only melt in your mouth but also bring a wave of nostalgia that wraps around you like a warm hug.
What makes these coconut tails stand out from other recipes? For starters, they combine the chewy goodness of shredded coconut with a creamy sweetness from condensed milk, all dipped in a blanket of silky white chocolate. Unlike store-bought options that often skimp on quality, these are made with love—and trust me, they taste heavenly fresh. Across family gatherings, these magical treats take center stage, igniting smiles and laughter around the table.
In this post, you’ll learn how to whip up these incredibly easy and festive Easter Bunny Coconut Tails, making them a delightful addition to your spring celebrations. Let’s hop into the magic of creating these whimsical delights together!
What are Easter Bunny Coconut Tails?
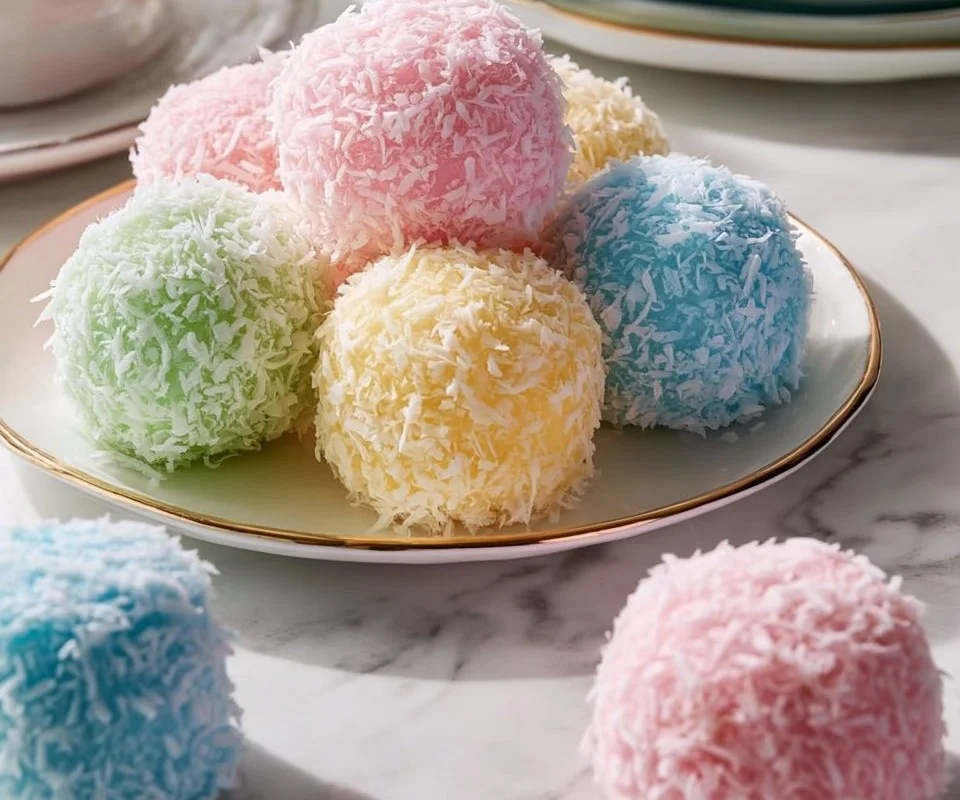
Easter Bunny Coconut Tails are bite-sized treats that blend the classic flavor of coconut with the festive spirit of Easter. This delightful treat is basically a coconut ball that mimics the fluffy tail of our favorite Easter bunny! Originating from the age-old tradition of using coconut in holiday desserts, these treats bring a touch of whimsy and sweetness that makes every bite feel like a celebration.
You can expect a wonderful combination of textures: the coconut brings a chewy texture, while the white chocolate adds a smooth coating that creates a delightful contrast. The edible eyes and chocolate chips resting on top give them personality that’s hard to resist! These sweet bites are perfect for springtime gatherings, egg hunts, or simply to share with loved ones as a group kitchen activity. They’re so charming and adaptable that you can easily make them your own!
Why You’ll Love This Recipe
Childhood Nostalgia: This recipe not only taps into childhood memories of baking with loved ones but also creates new ones that you can share with others. There’s nothing quite like bonding over the joys of baking.
No-Fuss & Fun: Unlike some complicated recipes, these delightful treats have a short prep time and require no elaborate techniques—perfect for bakers of all skill levels!
Cost-Effective: You can enjoy the deliciousness of homemade treats without breaking the bank. With just a few simple ingredients like shredded coconut and sweetened condensed milk, you’ll create a dessert that rivals expensive bakery options.
Customization Opportunities: Want to jazz things up? Consider adding a fun twist with different flavors or toppings! From coconut to vanilla to dark chocolate, the possibilities are endless.
Quick Results: From mixing to chilling, you can whip these up in about an hour. You’ll be ready to serve scrumptious, Easter-themed dessert faster than you can say “bunny tails”!
With these reasons, you can look forward to a delightful experience as you make these Easter Bunny Coconut Tails—and they’re sure to bring joy to your table!
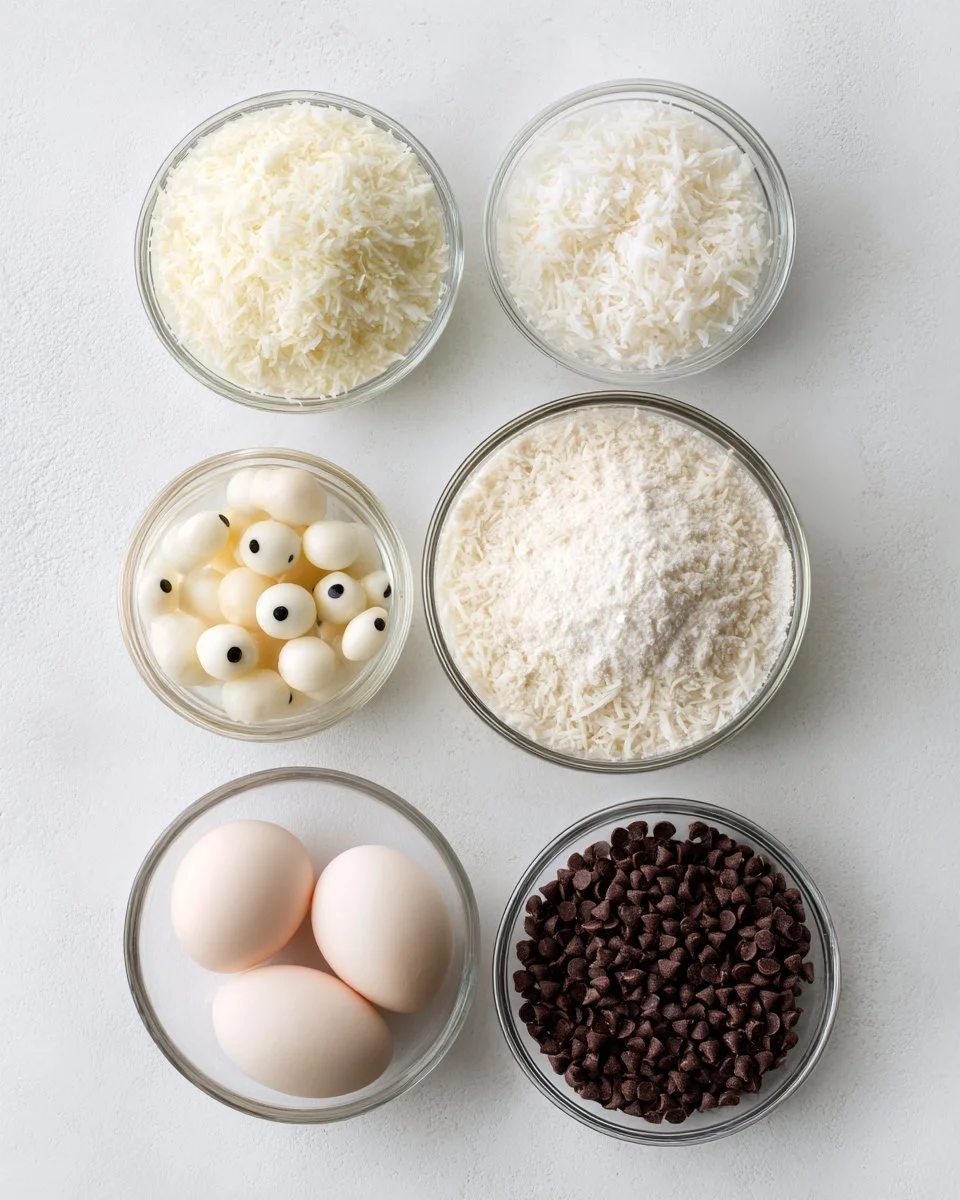
Ingredients
2 cups shredded coconut – Opt for unsweetened for a more authentic flavor or sweetened if you prefer an extra sugary treat. Shredded coconut can usually be found in the baking aisle, but I love using Bob’s Red Mill for its quality and freshness.
1 cup sweetened condensed milk – Use full-fat for the creamiest texture. Brands like Eagle Brand are tried-and-true favorites for many home bakers.
1 teaspoon vanilla extract – A splash of pure vanilla enhances the flavor. I always recommend using Madagascar vanilla for a heavenly aroma.
1 cup white chocolate chips – Ghirardelli’s white chocolate chips melt beautifully and have a lovely, sweet flavor that’s perfect for dipping.
Edible eyes (optional) – These can generally be purchased at craft stores or online. They’re a fun touch to give your bunnies personality!
Mini chocolate chips (for decoration) – You can use any brand you prefer; I love the semi-sweet variety to offset the sweetness of the coconut.
Prep Notes: Make sure your sweetened condensed milk is room temperature for easy mixing. It doesn’t hurt to set it out about half an hour before you start.
Step-by-Step Instructions
Combine Ingredients: In a large mixing bowl, start by combining the shredded coconut, sweetened condensed milk, and vanilla extract. Mix until the ingredients are evenly combined. The sweetness from the condensed milk helps balance the texture of the coconut, giving a fluffy consistency.
Form the Mixture: Once combined, use your hands to form small balls from the mixture about the size of a tablespoon. I recommend wetting your hands slightly to prevent sticking.
Melt Chocolate: In a microwave-safe bowl, melt the white chocolate chips. Microwave in 30-second intervals, stirring well after each until it’s smooth and creamy. It should be glossy without any lumps!
Dip the Coconut Balls: Dip each coconut ball into the melted chocolate. Ensure they’re fully coated for that delightful chocolatey exterior.
Set on Baking Sheet: Place the chocolate-coated coconut balls on a parchment-lined baking sheet. This allows for easy cleanup!
Add Decorations: While the chocolate is still soft, carefully add edible eyes and mini chocolate chips to create adorable bunny tails. You might get a giggle watching them come to life!
Chill Until Set: Refrigerate the coconut balls for at least 30 minutes, or until the chocolate hardens. The cold temperature makes them even more refreshing!
Serve and Enjoy: Once set, serve chilled, and watch them disappear from the plate like magic—but be sure to grab one for yourself first!
Chef’s Tip: If your chocolate is too thick for dipping, add a teaspoon of coconut oil to help it smooth out!
Common mistakes to avoid: Don’t melt the chocolate too quickly; it can burn! Be patient and keep stirring until smooth.
Expert Tips & Tricks
Storage Recommendations: If you happen to have any leftovers (which is rare!), store them in an airtight container. They’ll last about a week in the fridge.
Make-Ahead Instructions: You can prepare the coconut balls and store them in the freezer. Just let them thaw for a few minutes at room temperature before dipping in chocolate.
Troubleshooting: If your coconut tails are falling apart when forming, it’s possible that the mixture is too dry. Try adding a tiny bit more sweetened condensed milk to bind it together.
Decorating Ideas: Besides edible eyes, consider garnishing with colorful sprinkles or even edible flowers for a touch of spring.
Experimenting with Flavor: I’ve tried infusing the chocolate with orange zest for a citrusy twist, and it’s utterly delightful!
Serving Suggestions
These charming Easter Bunny Coconut Tails pair perfectly with a variety of treats. Set them on a vibrant spring-themed platter alongside chocolate eggs or fresh fruit for a delightful dessert spread. They make a wonderful addition to your Easter brunch or a fun centerpiece for any springtime celebration. Personalize the presentation by arranging them inside an Easter basket or nestling them in a bed of grass-like coconut fibers for a playful touch.
Variations & Substitutions
Flavor Combinations: Spice things up by adding a dash of almond or coconut extract to the coconut mixture. Another fun twist is incorporating mini marshmallows for added texture!
Dietary Restrictions: Looking for gluten-free or dairy-free options? Use homemade coconut cream instead of sweetened condensed milk, and make sure to find vegan white chocolate chips.
Seasonal Variations: Consider adapting the recipe for other holidays by changing up the decorations—think red and green colors for Christmas or pastel colors for spring!
Nutrition & Storage Info
- Prep Time: 15 minutes
- Chill Time: 30 minutes
- Total Time: 45 minutes
- Yield: About 12 coconut tails
- Estimated Calories: Approximately 120 calories per serving
Storage Instructions: Keep these treats in an airtight container in the refrigerator for up to a week or freeze for up to two months. They are best served chilled!
FAQ Section
Can I use unsweetened coconut?
Absolutely! Unsweetened coconut will give you a more subtle flavor and a slightly different texture, but it works great with the sweetened condensed milk.What can I use if I can’t find white chocolate chips?
You could opt for dark or milk chocolate chips instead, depending on your preference. Just keep in mind they will alter the overall sweetness.How can I prevent the chocolate from hardening too quickly?
If you’re working in a cool environment, try melting the chocolate in smaller batches to keep it at the right consistency for dipping.Do I have to refrigerate them?
For the best texture and taste, it’s recommended. However, you can keep them at room temperature for a short time if necessary.Can I make these vegan?
Yes! Use vegan white chocolate chips and a homemade sweetened condensed milk alternative made from coconut milk.What if the mixture is too dry?
If your mixture isn’t binding well, just a tiny splash more of sweetened condensed milk should help it stick together.How should I store them if I want to make them ahead of time?
Store them in an airtight container in the fridge, or freeze them for up to two months. Just allow them to thaw before serving.What is the best way to melt the chocolate?
Microwaving in short intervals with stirring is best. You can also use a double boiler for more control.Can I add food coloring to the chocolate?
Yes, you can enhance the white chocolate with gel food coloring for a fun twist! Just be sure to use oil-based colors for best results.How many servings does this recipe make?
Depending on the size of the coconut balls, you can expect about 12-15 servings from the recipe.

Conclusion
In summary, Easter Bunny Coconut Tails are more than just a sweet treat—they are a celebration of togetherness, creativity, and sprightly springtime fun! They’re easy to make, customizable, and perfect for creating lasting memories with family and friends. I wholeheartedly encourage you to try making these delightful bunny tails at home. Share your creations in the comments, and let me know what you think!
If you love this recipe, don’t miss out on other festive treats on the blog, like my Chocolate Egg Nest Cookies or Springtime Fruit Tarts. Happy baking and have a wonderful Easter!


