
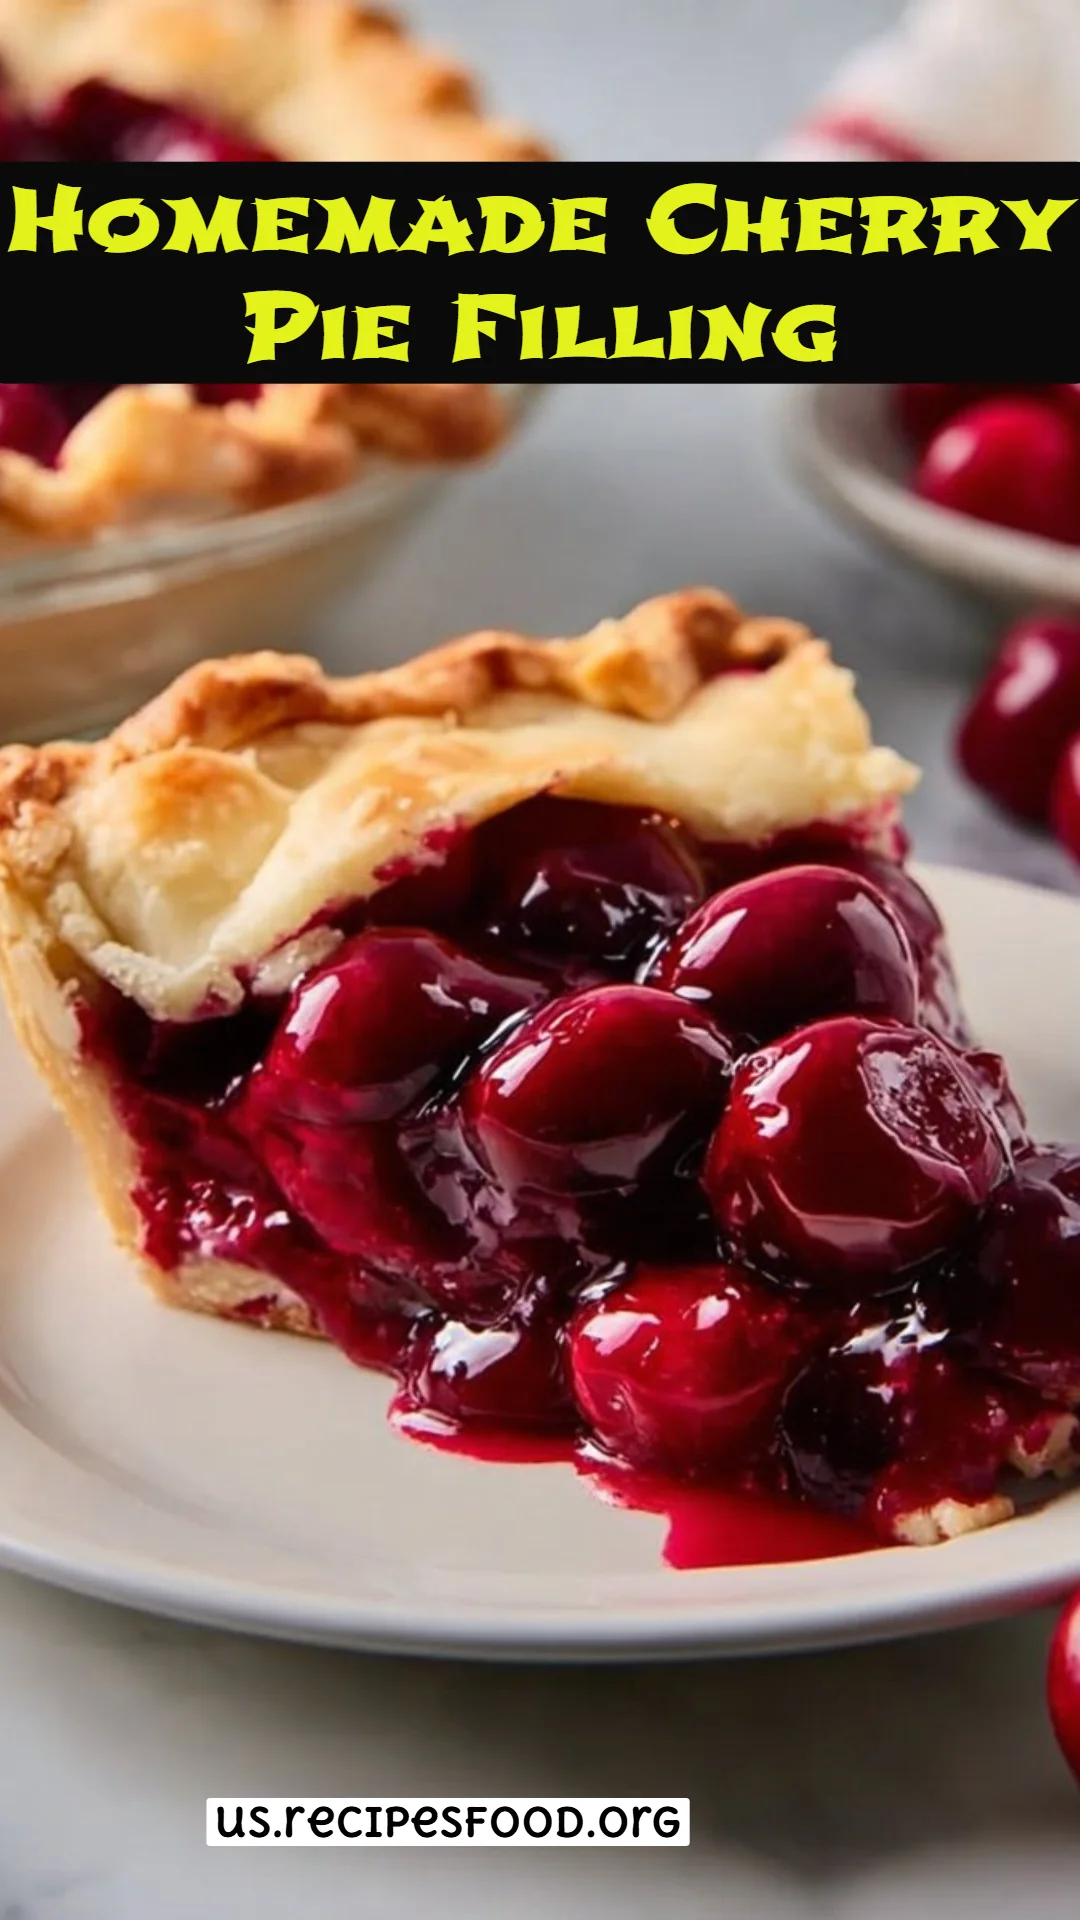
Luscious Homemade Cherry Pie Filling: A Flavorful Journey into Classic Dessert Making
There’s something magical about the aroma of freshly baked pie wafting through the house, isn’t there? My fondest memories revolve around summer afternoons spent at my grandmother’s kitchen table, savoring her famous homemade cherry pie. Each bite of that comforting dessert transported me back to sun-drenched days, laughter, and family. As an adult, I knew I had to uncover the secret behind her scrumptious cherry pie filling, and let me tell you, it starts with making your own Homemade Cherry Pie Filling from scratch!
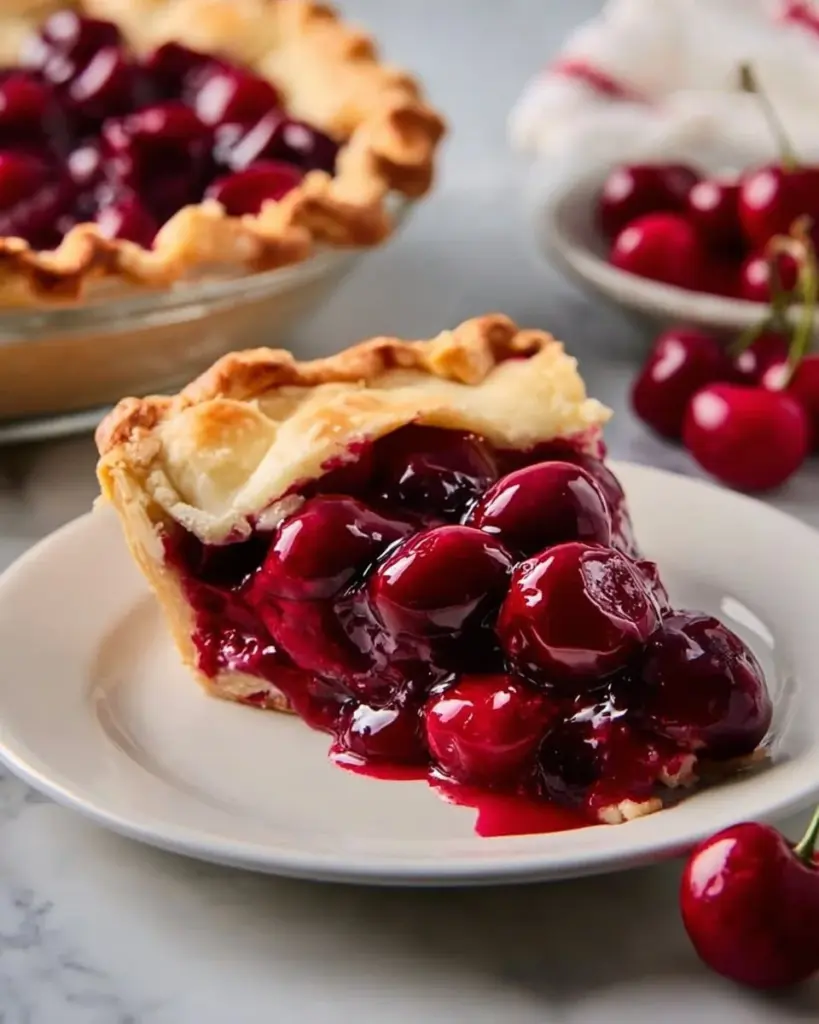
Using fresh cherries, this recipe is not just about mixing a few ingredients; it’s about capturing the essence of summer and creating a symphony of flavors. What makes this recipe so special? For one, it offers an unbeatable flavor and texture that’s far superior to any store-bought version. The vibrant pop of fresh cherries, combined with a hint of lemon and vanilla, creates a luscious filling that will have everyone asking for seconds.
In this post, I promise to share with you an easy, step-by-step guide to crafting your very own Homemade Cherry Pie Filling. Whether you’re an experienced baker or just starting out, you’ll soon discover how easy it is to replicate this family favorite in your own kitchen!
What Are Homemade Cherry Pie Fillings?
Homemade Cherry Pie Filling is not just a simple dessert component; it’s a nostalgic culinary masterpiece rooted in tradition. Historically, cherry pie has been enjoyed since the 18th century. Originally made with sweet and tart cherries, the pie became a symbol of Americana, often served at summer gatherings, picnics, and family reunions.
When you take a bite of this filling, you’re met with a delightful combination of sweetness balanced with a hint of tartness, thanks to the fresh cherries. The texture is a beautiful interplay between juicy and thick—think velvety goodness that holds together perfectly in flaky pie crust. What’s unique about making it at home is that you can customize the sweetness and flavor to suit your personal taste.
You might wonder when or why to make it. The answer is simple: any time cherries are in season! Making your own filling ensures that you’re embracing the fruit at its peak ripeness, which results in a truly exquisite cherry filling perfect for pies, tarts, or even serving over vanilla ice cream.
Why You’ll Love This Recipe
Flavor Explosion: There’s no comparison between the rich, deep flavor of fresh cherries in a homemade filling versus commercial products loaded with preservatives and artificial flavors. Here, the cherries take center stage!
Cost-Effective: Making your own filling is not only rewarding but also kinder on your wallet. With seasonal cherries and a few pantry staples, you’ll whip up a batch that rivals high-end alternatives at a fraction of the cost.
Customization Galore: You can tweak this recipe to match your taste buds. Want it sweeter or with a hint of almond extract? Go for it! You have the creative freedom that store-bought fillings just don’t allow.
Easy and Fun: With straightforward steps and minimal effort, even novice bakers can shine in the kitchen. Plus, you’ll feel like a pro as you transform fresh ingredients into something magical.
Make Ahead & Store: This recipe yields enough filling for several pies, and it freezes beautifully, making it perfect for those spontaneous baking sessions on a whim. Just imagine having the deliciousness of summer cherries at your fingertips in the middle of winter!
Ingredients
Here’s what you’ll need to create your delicious Homemade Cherry Pie Filling:
Fresh Cherries: About 4 cups, pitted and chopped. Look for plump, ripe cherries; they should be deep red, which means they’re packed with flavor. Frozen cherries can be used in a pinch, but the taste won’t be as vibrant.
Sugar: 1 cup, or more to taste. I recommend using granulated sugar for a clean sweetness, but feel free to experiment with brown sugar for a hint of caramel flavor.
Cornstarch: 2 tablespoons. This acts as a thickener for your filling, giving it the perfect luscious consistency. You can substitute with arrowroot powder if desired.
Lemon Juice: 1 tablespoon. A splash of lemon juice enhances the cherry flavor and balances the sweetness.
Vanilla Extract: 1 teaspoon. Use pure vanilla extract for the best flavor—it’s worth the splurge!
Water: ½ cup. This helps to bring the filling together, forming the perfect texture.
Prep Note: Make sure your cherries are room temperature before starting. If frozen, allow them to thaw and drain any excess liquid.
Step-by-Step Instructions
Pit and chop the fresh cherries. It’s a bit tedious but so worth it for that fresh taste! You’ll want about 4 cups of chopped cherries for this recipe.
In a saucepan over medium heat, combine the cherries, sugar, cornstarch, lemon juice, and water. Stir the mixture until the sugar starts to dissolve, and the cherries begin to release their juices—about 2-3 minutes.
Stir the mixture until it starts to thicken and becomes glossy, about 5-10 minutes. You’ll see the bubbles breaking through, which is a sign that your filling is perfecting!
Remove from heat and stir in the vanilla extract. The aroma should be heavenly—this is where the magic happens.
Allow to cool before using it in your favorite pie recipes. This filling can be stored in the refrigerator for up to a week or frozen for future use.
Chef’s Tip: When stirring, ensure you’re scraping the bottom of the pot to prevent the filling from sticking and burning.
Expert Tips & Tricks
Storage Recommendations: Store your Homemade Cherry Pie Filling in an airtight container. If refrigerated, it will last up to a week, and in the freezer, it can last up to 6 months!
Make-Ahead Instructions: You can prep this filling ahead of time for gatherings. Simply allow it to cool completely, then store it until you’re ready to bake.
Troubleshooting Common Problems:
- If your filling is too thin, simmer it a bit longer to reduce excess liquid.
- If it’s too thick, add a splash of water to loosen it up.
Perfect Pairing: Consider adding a pinch of cinnamon or nutmeg for added warmth. You can also mix in other berries for a mixed-fruit twist!
Serving Suggestions
What’s better than a warm pie fresh from the oven? Pair your Homemade Cherry Pie Filling with a scoop of vanilla ice cream or a dollop of whipped cream for an unforgettable dessert experience. For presentation, dust the pie with powdered sugar and serve with fresh mint leaves on the side.
This filling is not just for pies; it can also be spooned over pancakes, waffles, or even cheesecake! Bring it to summer barbecues or holiday gatherings, and watch it disappear!
Variations & Substitutions
Different Flavor Combinations: Try adding a splash of almond extract for a delightful twist.
Dietary Restriction Adaptations: For a lower-sugar option, substitute with a sugar alternative like erythritol.
Seasonal Variations: In lieu of cherries, you can substitute with seasonal fruits such as blueberries or peaches for a different take on fruit fillings.
Nutrition & Storage Info
- Prep time: 10 minutes
- Cook time: 15 minutes
- Total time: 25 minutes
- Yield: About 4 cups of filling (enough for 2-3 pies)
- Estimated calories: Approximately 150 calories per serving (for a ½ cup serving)
- Storage instructions: Refrigerate for up to a week or freeze for up to 6 months.
FAQ Section
1. Can I use frozen cherries instead of fresh?
Yes, frozen cherries can be used; just be sure to drain any excess liquid before cooking.
2. How do I freeze the cherry filling?
Allow it to cool completely, then store it in freezer-safe containers, leaving space for expansion.
3. What can I use instead of cornstarch?
You can substitute cornstarch with arrowroot powder or tapioca starch. The outcome may vary slightly.
4. How long will the filling last in the fridge?
The filling will last in an airtight container for up to a week.
5. Can I adjust the sweetness?
Absolutely! Feel free to add more sugar or use a sweetener of your choice to taste.
6. Is there a way to make this filling sugar-free?
You can substitute sugar with sugar alternatives like stevia or monk fruit sweetener.
7. Can I make the filling with different fruits?
Certainly! This method works well with other berries or stone fruits. Adjust cooking times as necessary.
8. What’s the best way to thicken the filling?
Cooking the filling longer will naturally thicken it. If it’s still too thin, you can mix in a little more cornstarch dissolved in water.
9. Can I use this filling for desserts other than pies?
Yes! Use it as a topping for cheesecakes, pancakes, or even stirred into yogurt.
10. How do I prevent the filling from being too runny when baked?
Make sure to let the filling cool before using it in your pie. The cornstarch needs time to set.

Conclusion
There you have it—your go-to recipe for Homemade Cherry Pie Filling! This delectable and vibrant filling is sure to create unforgettable memories, just like the ones I cherish from my childhood. I encourage you to give it a try—your friends and family will thank you, and it might just become your new family tradition!
Feel free to share your feedback or any twists you’ve made to this recipe in the comments below. And if you love this one, check out my other dessert recipes on the blog for even more delicious adventures in baking!
Homemade Cherry Pie Filling
A delightful homemade cherry pie filling that captures the essence of summer with fresh cherries, lemon, and vanilla.
- Prep Time: 10 minutes
- Cook Time: 15 minutes
- Total Time: 25 minutes
- Yield: About 4 cups, enough for 2-3 pies
- Category: Dessert
- Method: Cooking
- Cuisine: American
- Diet: Vegan
Ingredients
- Fresh Cherries: About 4 cups, pitted and chopped
- Sugar: 1 cup, or more to taste
- Cornstarch: 2 tablespoons
- Lemon Juice: 1 tablespoon
- Vanilla Extract: 1 teaspoon
- Water: ½ cup
Instructions
- Pit and chop the fresh cherries.
- In a saucepan over medium heat, combine the cherries, sugar, cornstarch, lemon juice, and water.
- Stir the mixture until the sugar starts to dissolve and cherries begin to release their juices—about 2-3 minutes.
- Continue to stir until it starts to thicken and becomes glossy, about 5-10 minutes.
- Remove from heat and stir in the vanilla extract.
- Allow to cool before using it in your favorite pie recipes.
Notes
This filling can be stored in the refrigerator for up to a week or frozen for future use.
Nutrition
- Serving Size: 1/2 cup
- Calories: 150
- Sugar: 25g
- Sodium: 10mg
- Fat: 0g
- Saturated Fat: 0g
- Unsaturated Fat: 0g
- Trans Fat: 0g
- Carbohydrates: 38g
- Fiber: 2g
- Protein: 1g
- Cholesterol: 0mg


