
Table of Contents
Table of Contents
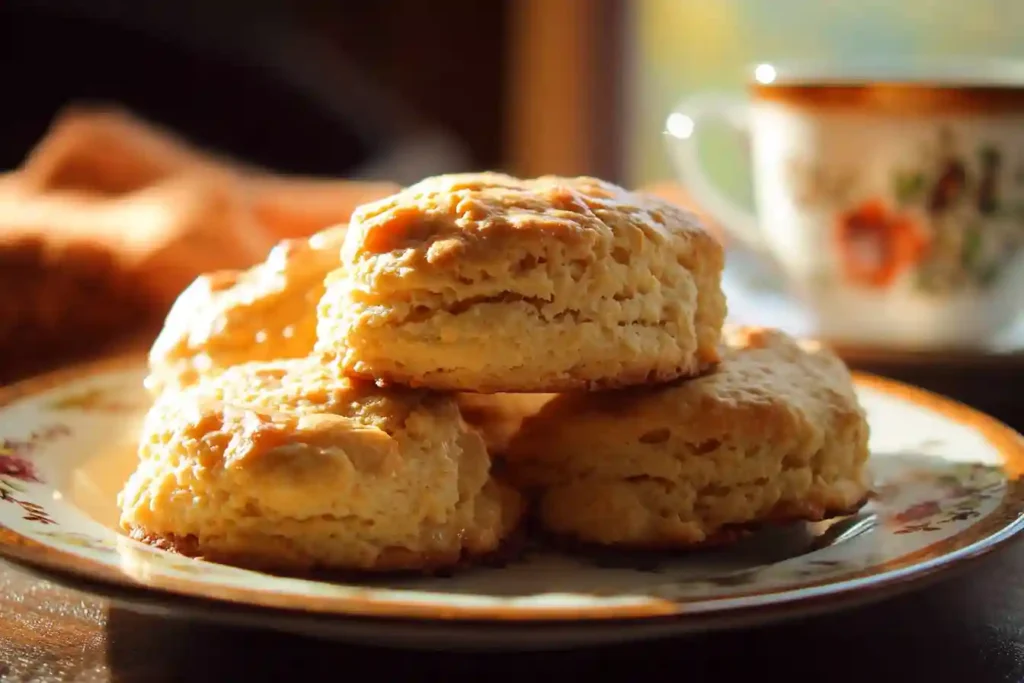
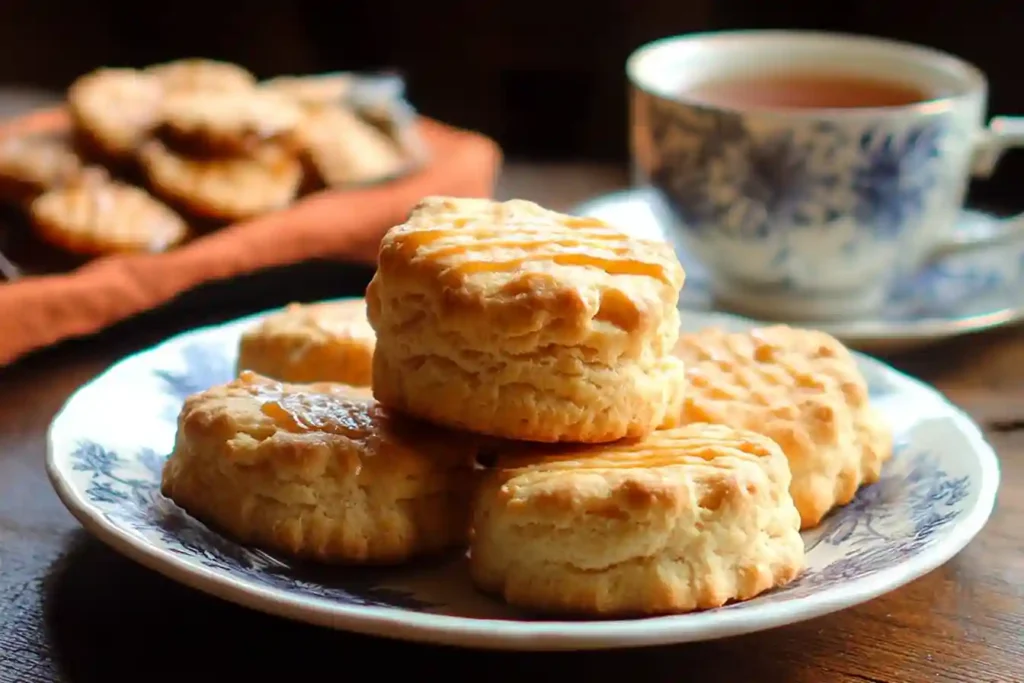
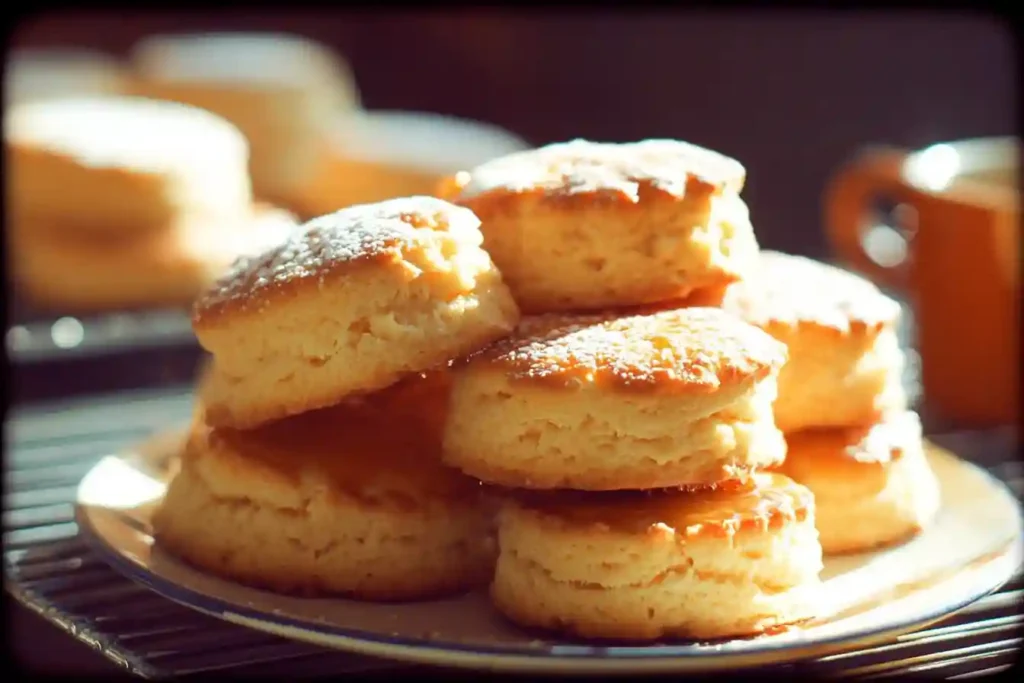
Honey Butter Biscuits are not just an ordinary addition to your meal; they’re a delicious joy that can elevate even the simplest dinner to something extraordinary. Fluffy, buttery, and sweet, these biscuits are perfect for families, gatherings, or even a cozy night in. Ready to dive into making these scrumptious treats? Let’s get started!
Why You’ll Love Honey Butter Biscuits
Perfect for Families, Quick, and Delicious
Honey Butter Biscuits are an ideal choice for families and busy individuals alike. They’re quick to prepare and require only a few minutes of baking time. Imagine biting into a warm, buttery biscuit with a drizzle of honey melting into every fluffy layer—it’s comfort food at its finest that everyone will love!
Nutritional Benefits and Simple Ingredients
One of the beautiful aspects of these biscuits is their simplicity. The ingredients are everyday staples typically found in your pantry. With lower sugar content compared to many baked goods, Honey Butter Biscuits can fit into a balanced diet if consumed in moderation. Plus, the use of buttermilk adds a bit of protein and calcium.
Flexibility: Adaptable and Budget-Friendly
What’s great about Honey Butter Biscuits is their adaptability. You can easily adjust the ingredients to fit your dietary needs or personal preferences. Whether you prefer whole wheat flour, need a gluten-free version, or want to throw in some extra spices, these biscuits can bend to meet your desires without sacrificing flavor. And let’s not forget: they’re wallet-friendly too!
Essential Ingredients for the Recipe
PrintHoney Butter Biscuits Recipe: A Delightful Treat for Any Occasion

Light and flaky honey butter biscuits with crispy golden tops and tender interiors. These sweet-savory biscuits are brushed with a honey butter glaze for irresistible flavor. Perfect for breakfast, brunch, or as a side dish!
- Prep Time: 15 minutes
- Cook Time: 12 minutes
- Total Time: 27 minutes
- Yield: 8–10 biscuits 1x
- Category: Bread/Breakfast
- Method: Baking
- Cuisine: American Southern
- Diet: Vegetarian
Ingredients
- 2 cups all-purpose flour
- 1 tablespoon baking powder
- 1/4 teaspoon baking soda
- 1 teaspoon salt
- 6 tablespoons cold unsalted butter, cubed
- 3/4 cup buttermilk (cold)
- 2 tablespoons honey
- Honey Butter Glaze:
- 3 tablespoons butter, melted
- 2 tablespoons honey
- Pinch of sea salt (optional)
Instructions
- Prep: Preheat oven to 450°F (230°C). Line a baking sheet with parchment paper.
- Mix dry ingredients: Whisk together flour, baking powder, baking soda, and salt in a large bowl.
- Cut in butter: Using a pastry cutter or fingers, work cold butter into flour mixture until pea-sized crumbs form.
- Add wet ingredients: Make a well in center. Pour in cold buttermilk and 2 tbsp honey. Stir just until dough comes together (do not overmix).
- Shape: Turn dough onto floured surface. Gently pat into 1-inch thick rectangle. Fold dough over itself 2-3 times for layers.
- Cut biscuits: Using a 2.5-inch biscuit cutter, cut straight down (don’t twist). Reroll scraps once.
- Bake: Place biscuits on prepared sheet. Bake 12-15 minutes until golden brown.
- Glaze: While biscuits bake, mix melted butter and 2 tbsp honey. Brush generously over hot biscuits. Sprinkle with sea salt if desired.
Notes
- Key to flakiness: Keep butter and buttermilk COLD, and don’t overwork dough.
- No buttermilk? Mix 3/4 cup milk with 1 tsp lemon juice, let sit 5 minutes.
- Storage: Best served warm. Reheat in 350°F oven for 5 minutes.
- Freeze option: Freeze unbaked biscuits on sheet, then transfer to bag. Bake from frozen (+2-3 minutes).
Nutrition
- Serving Size: 1 biscuit
- Calories: 220
- Sugar: 8g
- Sodium: 380mg
- Fat: 11g
- Saturated Fat: 7g
- Unsaturated Fat: 3g
- Trans Fat: 0g
- Carbohydrates: 28g
- Fiber: 1g
- Protein: 3g
- Cholesterol: 30mg
All-Purpose Flour: The Foundation
All-purpose flour is the backbone of this biscuit recipe. Its versatility is unmatched, providing just the right amount of structure. If you’re looking for alternatives, you can use whole wheat flour for a nuttier flavor or gluten-free flour mixes for a wheat-free option.
Cold Butter: The Secret to Fluffy Biscuits
Cold, cubed unsalted butter is essential for creating those dreamy layers in your biscuits. When mixed with the dry ingredients, it creates pockets of fat that result in a tender, flaky texture. For a dairy-free alternative, consider using coconut oil or plant-based butter.
Buttermilk: The Flavor Enhancer
Buttermilk plays a significant role in this recipe, providing moisture and a tangy flavor. If you don’t have buttermilk on hand, you can easily make a substitute by combining regular milk with a tablespoon of vinegar or lemon juice and letting it sit for a few minutes.
Ingredient Preparation
Step 1 – Measure and Sift: The First Steps Towards Perfection
Begin by measuring out your flour, baking powder, baking soda, and salt. Sifting these dry ingredients together not only combines them well but also aerates the mixture, which is crucial for light, fluffy biscuits.
Step 2 – Cut in the Cold Butter: The Key to Flakiness
Using a pastry cutter or two forks, cut the chilled butter into the flour mixture until it resembles coarse crumbs. This step is crucial for preventing the butter from melting before baking, ensuring that flaky layers form.
Step 3 – Mix Wet Ingredients: Combine to Create the Dough
In a separate bowl, mix the cold buttermilk with honey until well combined. Pour this mixture into your dry ingredients and stir gently. Overmixing can lead to tough biscuits—just mix until the dough comes together.
Step-by-Step Cooking Instructions
Step 1 – Preheat the Oven: Get Things Started
Preheat your oven to 425°F (220°C). This high temperature will help the biscuits rise quickly, making them light and fluffy. While the oven is heating, you can prepare your baking sheet.
Step 2 – Shape Your Biscuits: Forming the Deliciousness
Flour your work surface and turn out the dough. Gently pat it down until it’s about 1 inch thick. Use a biscuit cutter to cut out your biscuits, and place them on a greased baking sheet. Make sure to avoid twisting the cutter as this can seal the edges, preventing a good rise.
Step 3 – Bake and Glaze: The Final Touch Before Enjoying
Bake your biscuits in the preheated oven for 12-15 minutes, or until they are golden brown on top. In the meantime, prepare your honey butter glaze by mixing melted butter and honey together. As soon as the biscuits come out of the oven, brush the tops generously with the glaze to add extra flavor and shine.
Tips for an Even Tastier Version
Adding Extra Ingredients: Spice Up Your Biscuits
Feeling adventurous? Consider adding ingredients like grated cheese, chopped herbs, or spices. Cheddar and chive biscuits are a classic twist, while a hint of garlic powder or cayenne pepper can add an exciting kick.
Techniques to Enhance Flavor: Marinate with Honey
For an extra touch, try mixing in a splash of vanilla extract or almond extract into your buttermilk for some added flavor depth. Additionally, consider serving your biscuits with compound butter or flavored oils for a gourmet experience.
Adjustments for Preferences: Catering to Different Diets
If you’re catering to different dietary needs, you can easily swap out the buttermilk for a plant-based milk alternative or the all-purpose flour for gluten-free blends without compromising too much on flavor or texture.
Recipe Variations and Adaptations
Vegetarian Option: Simplifying Your Ingredients
No meat? No problem! These biscuits are naturally vegetarian. Perfect for a Sunday brunch with a side of roasted vegetables or a fresh salad, the flavors are robust enough to stand on their own.
Gluten-Free or Low-Carb Option: Substitutes at the Ready
For those requiring gluten-free options, substitute the all-purpose flour with a gluten-free baking blend. Alternatively, for a low-carb option, consider almond flour or coconut flour, adjusting the amounts as necessary, as these flours often require different ratios of wet ingredients.
Other Adaptations: Seasonal Flavors
Change the flavor profile of these biscuits by incorporating seasonal ingredients. In the fall, try adding a pinch of cinnamon or nutmeg. In the spring, fresh herbs like rosemary or thyme can add a delightful twist.
Serving Suggestions
Salad or Soup Ideas: Light Starters for a Balanced Meal
Serve your Honey Butter Biscuits as a charming accompaniment to a light salad or a comforting soup. A crisp Caesar salad or a warm bowl of tomato basil soup pairs beautifully with these fluffy delights.
Hearty Sides: Pairing for Comfort
For the full meal experience, consider pairing your biscuits with hearty sides like homemade mashed potatoes or roasted vegetables. They can also serve as the perfect vehicle for meats, such as fried chicken or beef stew.
Drink Recommendations: Beverage Pairings to Complete the Meal
To complement your meal, a refreshing iced tea or a classic lemonade works wonderfully. If you’re feeling fancy, why not serve with a light wine, such as a crisp Sauvignon Blanc? For a mocktail, an apple ginger fizz would be a lovely touch.
Storage and Reheating Tips
How to Store Leftovers: Keeping Them Fresh
If you have leftovers (which is rare with these biscuits!), let them cool completely before storing them. Place them in an airtight container in the refrigerator for up to 3 days or freeze them for longer storage.
Reheating Techniques: Bringing Back the Freshness
When ready to enjoy leftovers, reheat them in the oven at 350°F (175°C) for about 5-10 minutes. Alternatively, if you’re short on time, the microwave will work, though it may impact the texture slightly.
Portioning Tips: A Perfect Batching Strategy
These biscuits are ideal for meal prep. Consider making a double batch and freezing half; this way, they’re ready to go whenever you crave a warm, buttery biscuit.
Nutritional Information and Benefits
Nutritional Values per Serving: Knowing What You’re Eating
On average, each Honey Butter Biscuit contains about 180 calories, 3 grams of protein, 8 grams of fat, and 22 grams of carbohydrates. They are a delightful treat—but be mindful of portion sizes!
Ingredient Benefits: Health Perks in Each Bite
The ingredients in these biscuits offer various health benefits. Buttermilk not only contributes to the flavor but also provides probiotics for gut health, while honey offers natural sweetness and antioxidants.
Recommended Portions: Finding the Right Balance
A serving size of two biscuits is typically perfect for satisfying your craving without going overboard. Serve them alongside healthy fats and protein to create a balanced meal.
Common Mistakes to Avoid
Issue 1 – Overmixing the Dough: The Key to Nice, Flaky Biscuits
A common mistake is overmixing the dough. Be gentle and mix just until combined to maintain that coveted flaky texture.
Issue 2 – Incorrect Oven Temperature: The Importance of Heating
Ensure your oven is preheated correctly. An oven that isn’t hot enough will result in flat, dense biscuits. Invest in an oven thermometer if you suspect your oven temperature settings aren’t accurate.
Issue 3 – Not Using Cold Ingredients: The Best Practices for Baking
Using warm ingredients can ruin the texture of your biscuits. Always use cold butter and buttermilk for the best results. This allows the butter to create steam as it melts, resulting in a lighter biscuit.
Inspiring Conclusion
Honey Butter Biscuits are more than just a recipe; they’re a way to bring people together around the table, sharing stories and laughter while enjoying a delectable treat. Encourage your family or friends to join in on the cooking experience—there’s nothing quite like the joy of homemade biscuits! Whether enjoyed at breakfast, lunch, or dinner, they add a sweet touch that can transform any meal.
Try them out and share your thoughts or even variations. Cooking should always inspire creativity, so don’t be afraid to experiment!
Cranberry Crumb Bars: A Delicious and Nutritious Dessert
FAQ (Frequently Asked Questions)
- Can I prepare this recipe in advance?
- Yes! You can prepare the dough ahead of time, freeze it, and bake when needed. Just cut the dough into biscuits, place them on a baking sheet, and freeze until solid. Then, transfer them to a freezer bag for longer storage.
- What are the best substitutes for all-purpose flour?
- For gluten-free options, consider using gluten-free blends specifically designed for baking. Alternatively, almond or coconut flour are great low-carb replacements, but you’ll need to adjust the liquid ratios.
- Can I add herbs or spices to the dough?
- Absolutely! Fresh or dried herbs can be added to the dough for an extra flavor boost. Rosemary, thyme, and garlic powder all pair beautifully with the base recipe.
- How do I know when my biscuits are done?
- Your biscuits are done when they are golden brown on top. You can also check the bottom; it should be a lighter color.
- Can I make them ahead of time for a brunch?
- Yes, bake them and store them in an airtight container at room temperature for up to three days. Just reheat before serving.
- What’s the best way to freeze these biscuits?
- After baking and cooling, freeze the biscuits in a single layer, then transfer them to a freezer-safe bag. They can be reheated directly from frozen.
- How do I keep my biscuits soft after baking?
- To keep the biscuits soft, wrap them in a clean kitchen towel after baking; this will prevent them from getting hard as they cool.
- What can I serve with Honey Butter Biscuits?
- They go great with soups, salads, or as a side with your favorite main dishes like fried chicken or steak.
- Are these biscuits suitable for kids?
- Yes! These biscuits are kid-friendly and can be served at any meal. The sweetness from honey makes them particularly appealing.
- Can I make mini versions of these biscuits?
- Yes! Just roll the dough thinner and use a smaller biscuit cutter for delightful mini biscuits perfect for appetizers or snacks.
With this guide, you’ll be well-equipped to create your very own Honey Butter Biscuits that bring joy to those around you. Happy baking!


