

Irresistibly Delicious Old Fashioned Apple Crisp: A Classic Dessert You’ll Love!
As the crisp air settles in and the leaves start to turn, the aromas of cinnamon and baked apples wafting through the house are enough to transport me back to my grandmother’s cozy kitchen. I can still picture her in her worn apron, humming softly as she expertly tossed Golden Delicious apples into a buttery, crumbly topping that we all eagerly awaited. That memory always brings a smile to my face because we knew that a warm, Old Fashioned Apple Crisp awaited us after dinner—a simple yet extraordinary dessert that never failed to comfort our hearts and warm our bellies.
What sets this Old Fashioned Apple Crisp apart from any other recipe you might find is the balance of sweet and tart flavors, the delightful crunch of the oats in the topping, and the way it fills your home with an irresistible, homemade aroma. You won’t find a store-bought version that compares! Each forkful is filled with nostalgia, reminding us of family gatherings and cozy evenings spent together.
In this post, I’ll share my delightful recipe for Old Fashioned Apple Crisp and all the tips you need to make it perfectly. From selecting the right apples to tips for achieving that golden, bubbly topping, you’ll be well on your way to creating your own delicious memories!
What Are Old Fashioned Apple Crisps?
Old Fashioned Apple Crisp has its roots in traditional American desserts, dating back to the early settlers who sought to make the most of their harvests. Made primarily from baked apples and topped with a buttery, crunchy mixture, the contrast in textures between the tender apples and the crisp topping is absolutely divine. Each bite is a symphony of flavors—sweet, tart, and warm spices dancing together in perfect harmony.
What makes this dessert unique is not just the outstanding flavors; it’s the nostalgia it evokes and the simplicity that allows the apples, with just a touch of cinnamon and sugar, to shine. There’s something magical about pulling a bubbling dish from the oven, and as the lid is lifted, wafts of fragrant steam rise up, promising comfort in every bite.
This is the dessert for cozy evenings, family gatherings, or even just a treat for yourself. Whether you’re celebrating a special occasion or simply indulging in the season, Old Fashioned Apple Crisp is the perfect choice!
Why You’ll Love This Recipe
Homemade Goodness: Nothing comes close to the aroma of Old Fashioned Apple Crisp baking in your oven. It’s like a warm hug on a chilly evening, and it fills your home with the kind of sweet smells that invite everyone to gather around the table.
Cost-Effective: This recipe uses simple, affordable ingredients—Golden Delicious apples, oats, and pantry staples. Making it at home saves you money compared to purchasing dessert from a restaurant or bakery.
Customizable: Feel free to experiment! Add in some walnuts for crunch, a splash of vanilla for depth, or switch up the spices with nutmeg or ginger. The possibilities are endless, accommodating various tastes and preferences.
Easy to Make: With just a bit of prep and minimal kitchen tools, you can whip up this Old Fashioned Apple Crisp without stress. Plus, the process is forgiving—making it perfect for novice bakers and seasoned pros alike.
Guilt-Free Indulgence: Packed with wholesome ingredients, this dessert can be guilt-free when enjoyed in moderation. Pair it with a scoop of vanilla ice cream for an indulgent experience or serve with yogurt for a lighter option!
Ingredients
For the Apple Filling:
- Golden Delicious Apples (6 cups): Peeled and chopped. A sweet variety that holds its shape well during baking. If unavailable, feel free to mix in a tart apple variety, like Granny Smith.
- Granulated Sugar (3/4 cup): Sweetens the apples and helps create a syrupy filling.
- Ground Cinnamon (3/4 tsp): Adds that warm, cozy flavor we all associate with fall.
- Lemon Juice (1 tbsp): Brightens the apples’ natural flavors and prevents browning.
For the Crumble Topping:
- Brown Sugar (1 cup): Ensures the topping is rich and adds moisture.
- Old Fashioned Oats (1 cup): These give the topping its signature crunch.
- All-Purpose Flour (1 cup): Helps form a wonderful crumb when mixed with the other ingredients.
- Cold Butter (1/2 cup, cut into small cubes): Essential for creating a flaky, crumbly texture.
- Kosher Salt (1/2 tsp): Balances the sweetness and enhances flavor.
Preparation Notes:
- Be sure to use room temperature butter for easier mixing if you decide to use a pastry cutter. For a flakier topping, chilled butter is best.
- If you opt for other apple varieties, remember that the texture and sweetness will vary, so adjust sugar levels as needed.
Step-by-Step Instructions
Preparation Steps:
Preheat your oven to 350°F (175°C). This is crucial for even baking.
Butter an 8×8 baking dish: This step is essential to prevent sticking and enhance flavor.
Prepare the apple filling: In a large bowl, toss chopped Golden Delicious apples with 3/4 cup granulated sugar, 3/4 tsp cinnamon, and 1 tbsp lemon juice. Ensure the apples are evenly coated to maximize flavor.
Transfer the apple mixture into the prepared baking dish, spreading it out evenly.
Making the Crumble Topping:
In a separate bowl, combine 1 cup brown sugar, 1 cup old fashioned oats, 1 cup all-purpose flour, 1 tsp cinnamon, and 1/2 tsp kosher salt. Stir well to mix the dry ingredients.
Cut in the cold butter: Use a pastry cutter or your hands to mix the butter into the dry mixture until it resembles coarse crumbs. This step is crucial—not too much mixing; you want to see some butter chunks!
Spread the topping evenly over the apple layer in the baking dish.
Baking:
Bake in the preheated oven for 40-50 minutes, or until the topping is golden brown and the apples are bubbly. You should start to smell that incredible aroma wafting through your kitchen!
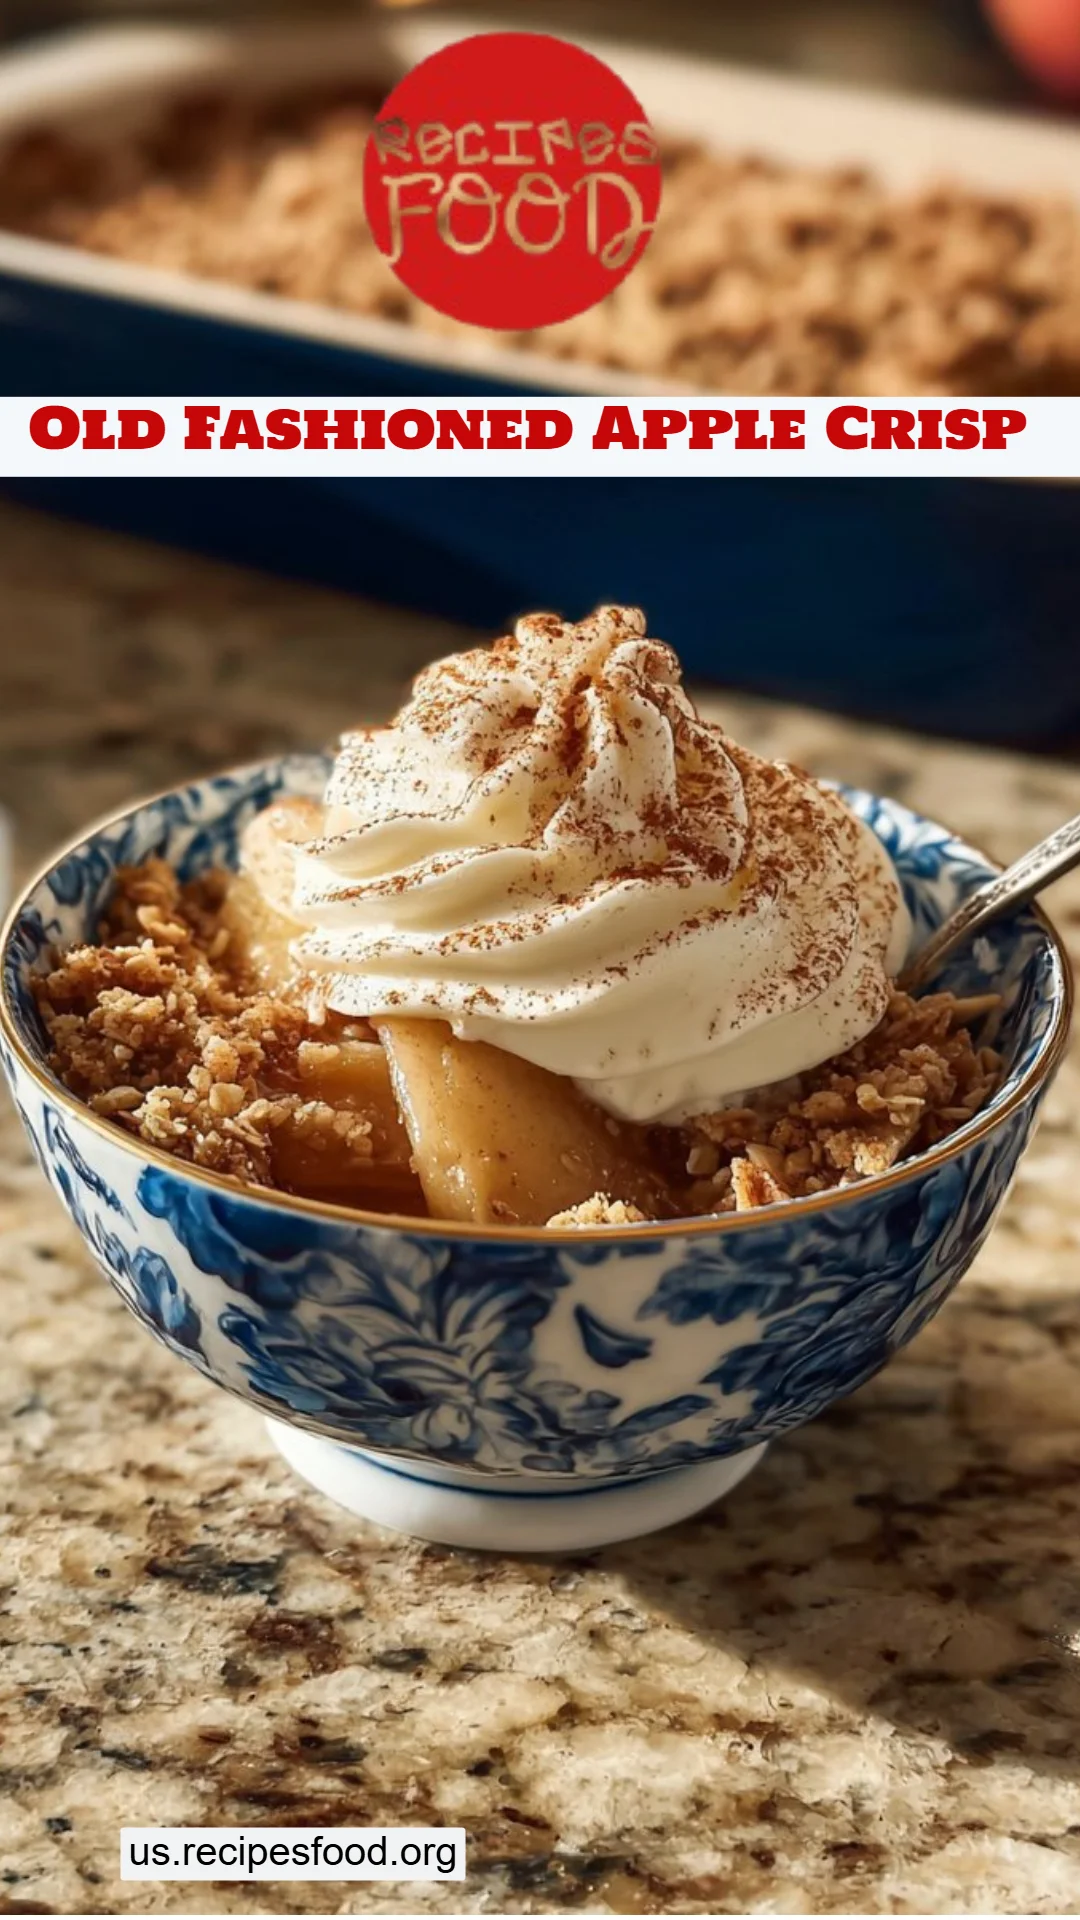
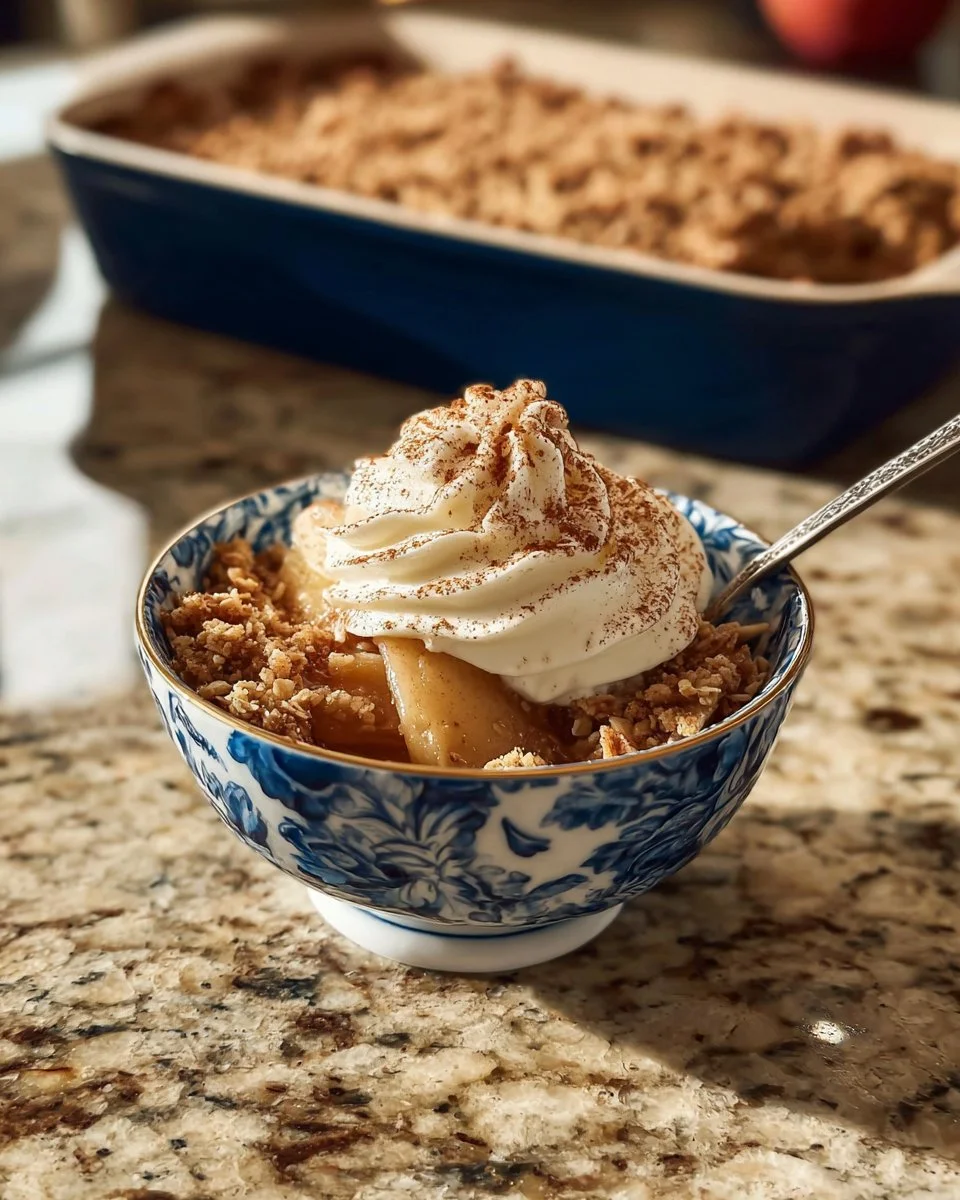
Serve warm: Allow it to cool for a few minutes before digging in. Serve with a scoop of vanilla ice cream or whipped cream for the ultimate indulgence!
Chef’s Tips:
- Timing: Take into account the time needed for prep and chopping apples. It usually takes about 15-20 minutes.
- Visual cues: Look for a bubbly filling as a sign that it’s ready to come out of the oven.
- Common mistakes: Avoid using overly ripe apples, as they can become mushy when baking.
Expert Tips & Tricks
Storage Recommendations: Store leftover Old Fashioned Apple Crisp in an airtight container in the fridge for up to 3 days. Reheat in the oven before serving to regain that fresh-baked texture.
Make-Ahead Instructions: You can prepare the apple filling a day ahead. Just cover and refrigerate until ready to use. Assemble with the topping and pop it in the oven when you’re ready to bake.
Troubleshooting: If you notice your topping browning too quickly, cover it with foil for the remainder of the baking time.
If your crisp is too runny, it could be due to overly juicy apples. In the future, consider using a starch like cornstarch to help thicken the mixture.
Crowding the baking dish will affect cooking time; if you ever find the top is cooked but the apples are still hard, increase the cooking time while keeping an eye on the topping!
Serving Suggestions
This delightful dessert is best served warm, sitting alongside a scoop of creamy vanilla ice cream or a dollop of freshly whipped cream for an extra indulgence. An elegant presentation can elevate the moment—try serving individual portions in ramekins topped with a sprinkle of flaky sea salt for a gourmet touch!
Old Fashioned Apple Crisp is perfect for cozy family dinners, holiday gatherings, or even a cozy night in with your favorite book and a cup of tea.
Variations & Substitutions
Different Flavor Profiles: Try adding cranberries for a tart kick or nuts like pecans or walnuts for added crunch and taste.
Dietary Restrictions: To create a gluten-free version, substitute the all-purpose flour with a gluten-free blend and ensure your oats are certified gluten-free.
Seasonal Adaptations: During fall, add in some pumpkin spice or chopped pumpkin. In spring, replace some apples with fresh strawberries or rhubarb for a refreshing twist.
Nutrition & Storage Info
- Prep Time: 15 minutes
- Cook Time: 40-50 minutes
- Total Time: Approximately 1 hour
- Yield: 8 servings
- Estimated Calories: About 300 calories per serving
Storage Instructions:
- Room Temperature: Covered, it can be stored for up to a day before refrigeration.
- Fridge: Lasts for up to 3 days.
- Freezer: Can be frozen for up to 3 months. Just allow it to cool completely before wrapping well with plastic wrap and foil.
FAQ Section
Can I use a different type of apple?
- Absolutely! While Golden Delicious is a favorite for this recipe, you can mix in Granny Smith for extra tartness or Honeycrisp for additional sweetness.
How do I know when it’s done cooking?
- Your apple crisp is ready when the topping is golden brown and the apple filling is bubbling around the edges.
Can I make this gluten-free?
- Yes, simply substitute the all-purpose flour with a gluten-free blend, and ensure your oats are certified gluten-free.
Is it best served warm?
- Yes! It’s just divine served warm, especially with a scoop of ice cream or whipped cream.
How can I make it ahead of time?
- Prepare the apple mixture and topping separately and combine them when ready to bake. You can also refrigerate the assembled dish before baking for up to 24 hours.
What else can I add?
- Try adding chopped nuts, raisins, or even a splash of caramel sauce to the apple filling for an extra treat!
Can I substitute for brown sugar?
- Yes! You can use white sugar, but the flavor will be less rich. You can also use coconut sugar for a healthier alternative.
Can I double the recipe?
- Yes, you can double it. Just use a larger baking dish and add a few more minutes to the baking time.
What if my topping is too dry?
- If you find your topping is dry, try adding a bit more butter or a splash of milk to the mixture.
How do I store leftovers?
- Store in an airtight container in the fridge for up to 3 days. Reheat in the oven for the best texture.
Conclusion
This Old Fashioned Apple Crisp is not just a dessert; it’s a heartwarming experience that you’ll cherish as much as the memories it brings. The next time you’re craving something nostalgic and delicious, give this recipe a try! I promise you’ll love it just as much as my family does. And I’d love to hear how yours turns out, so feel free to drop a comment or send me your feedback! For more delightful recipes, don’t forget to check out my blog—where baking brings us all together.


