

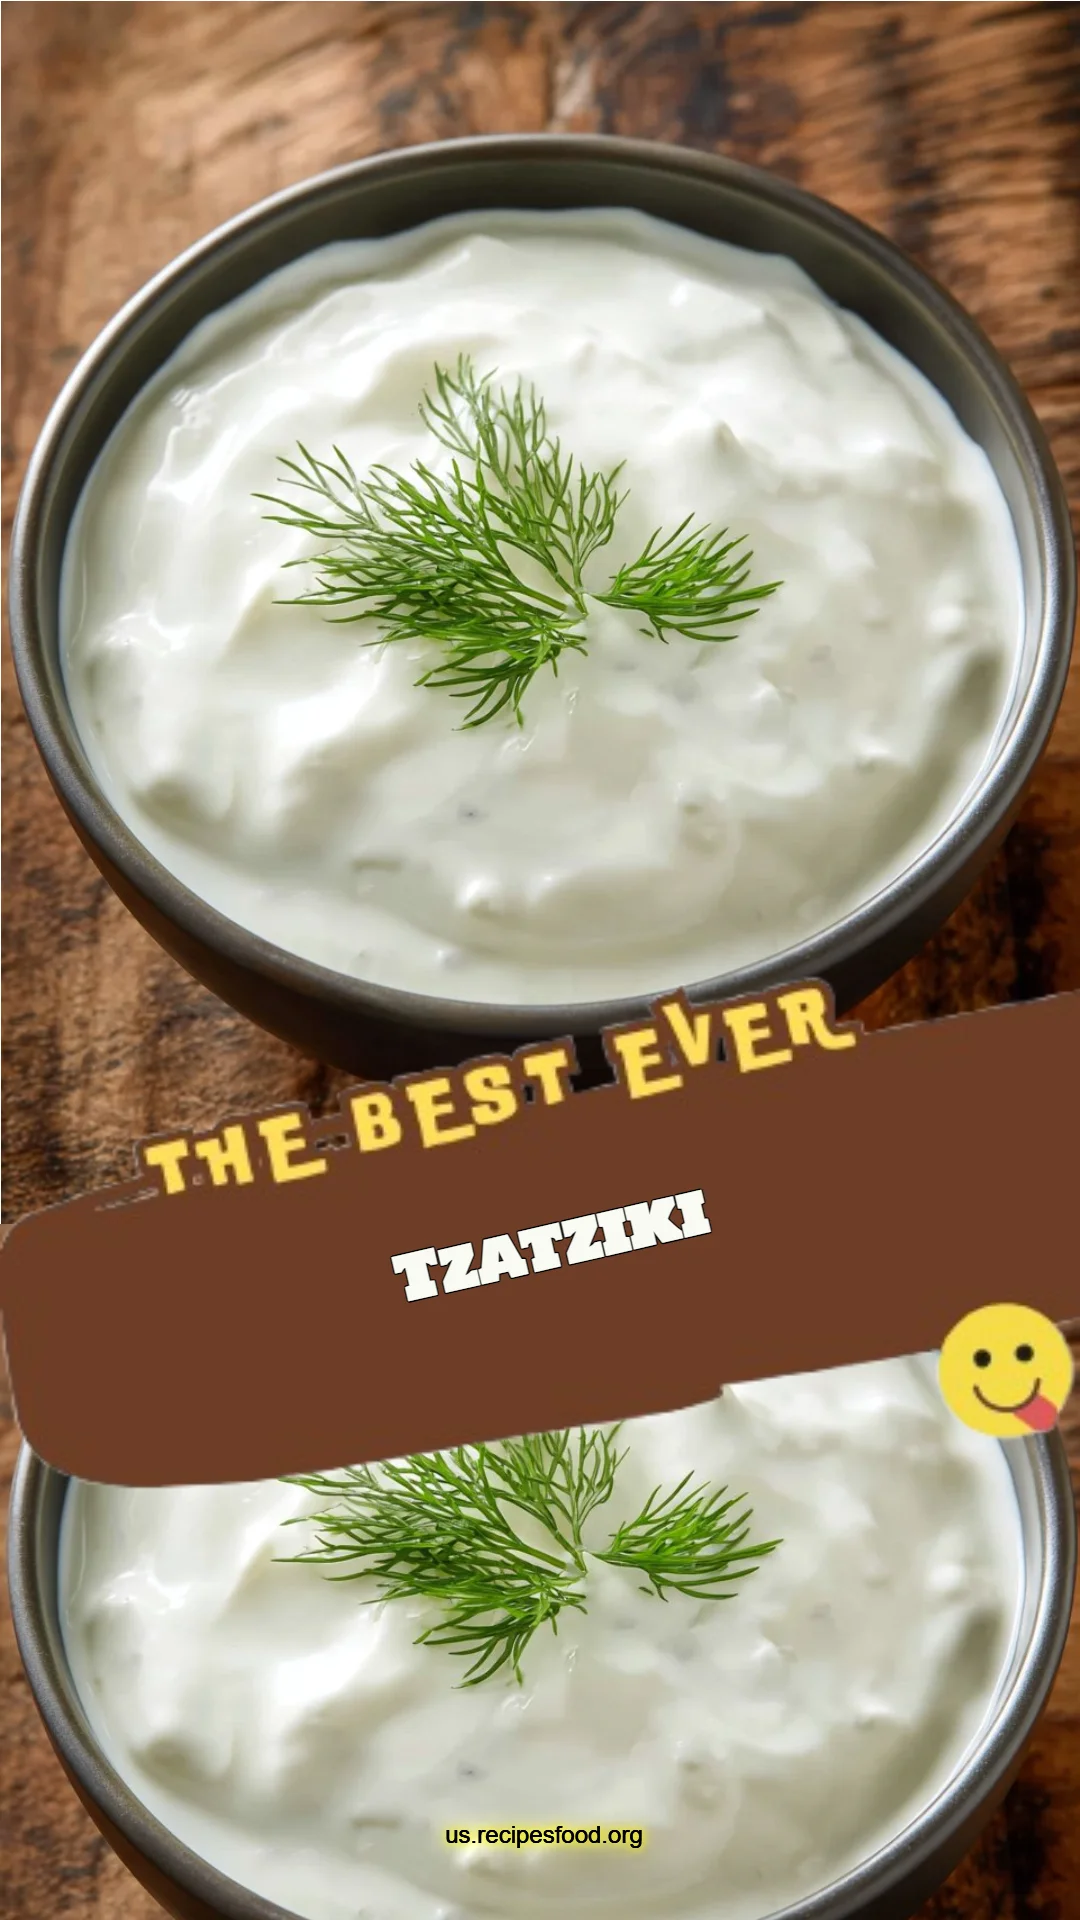
Tzatziki Triumph: The Ultimate Homemade Greek Yogurt Dip Recipe
Picture this: a sun-kissed summer afternoon, the aroma of grilled meats lingering in the air, and laughter echoing around the picnic table. At the heart of our family gatherings, there’s always a bowl of creamy, tangy tzatziki—a vibrant sauce that never fails to steal the show. I can still hear my grandmother’s voice encouraging me to grab that long English cucumber from the garden as she demonstrated how to make tzatziki from scratch, turning simple ingredients into something extraordinary.
What makes my tzatziki recipe stand out? It’s not just the fresh ingredients or the perfect balance of flavors; it’s the love and memories that come with it. While store-bought versions can be convenient, they often lack the depth and freshness of a homemade batch. I promise you that once you try this recipe, your taste buds will dance, and your friends will beg for the secret ingredient (spoiler alert: it’s all about the quality!).
In this post, I’ll guide you through creating an incredibly delicious tzatziki that’s perfect for dipping, slathering, or spooning into any dish. By the end, you’ll know how to elevate your food game and impress your loved ones with this classic Greek staple!
What Are Tzatziki?
Tzatziki is a traditional Greek dip that boasts a history as rich as its flavor. Dating back to ancient Greece, this refreshing concoction combines yogurt, cucumbers, garlic, and fresh herbs, giving it an unmistakably creamy texture and a bright, cooling taste. The tangy kick of the yogurt meets the crisp, subtle crunch of cucumber, while the garlic adds just the right amount of bite. It’s the perfect companion for grilled meats, a robust side for veggie platters, or even a star ingredient in Mediterranean wraps.
What makes tzatziki unique is its balance of simplicity and versatility. It’s a dish made for gatherings, summer picnics, or cozy evenings as a side to your favorite main dish. Whenever I whip up a batch, I can’t help but think of the laughter and stories exchanged over shared meals, making it not just food but a bridge connecting us to our roots and loved ones.
Why You’ll Love This Recipe
Fresh, Homemade Goodness: There’s nothing like the taste of freshly made tzatziki! Unlike store-bought brands that can be overly salty or lacking in freshness, this homemade recipe captures the true essence of the dish—where each bite bursts with flavor.
Cost-Effective: Making tzatziki at home is a budget-friendly option that won’t sacrifice quality for price. You can whip up a generous bowl for a fraction of what you’d spend on a gourmet version at the store.
Customization Options: This isn’t a one-size-fits-all recipe. Want a more pronounced garlic flavor? Go ahead and add an extra clove! Love herbs? Throw in some mint or parsley for a twist! The possibilities are endless.
Easy to Make: This recipe is straightforward, requiring just a few simple steps and minimal prep time. In under an hour, you’ll have a delicious dip waiting to take center stage at your next meal.
Makes Ahead & Stores Well: Tzatziki isn’t just delicious; it actually tastes better after sitting for a bit! Make it a day in advance, and just watch how the flavors meld for an even more delicious experience.
Ingredients
- 2 cups plain Greek yogurt: Opt for full-fat yogurt for richness; brands like Fage or Chobani are my go-tos. If you need a lower-fat option, feel free to substitute with low-fat Greek yogurt, though the texture may become thinner.
- 1 long English cucumber: Select a firm cucumber; the skins are thin and don’t need to be peeled. If you can’t find an English cucumber, feel free to use a regular cucumber but be sure to remove excess seeds.
- 2 cloves garlic (peeled and minced): Fresh is essential here! If you’re sensitive to garlic, feel free to reduce this amount or roast the garlic for a milder flavor.
- 2 tbsp finely chopped dill: Fresh dill truly elevates this dish; however, if you can’t find fresh, dried dill works in a pinch (just use half the amount).
- 2 tbsp extra virgin olive oil: Use a high-quality olive oil; it makes a noticeable difference in flavor.
- 2 tbsp fresh lemon juice: Freshly squeezed is best for that vibrant kick. Bottled lemon juice tends to lack nuance.
- 1 tsp lemon zest: Don’t skip this! It brightens the tzatziki and adds an aromatic layer.
- Kosher salt to taste: Adjust based on your personal preference and the saltiness of your yogurt.
Prep notes: Ensure your yogurt is at room temperature before starting for smoother blending. Grating your cucumber ahead of time can help remove excess moisture for a less watery tzatziki.
Step-by-Step Instructions
Prepare the Cucumber: Grate the cucumber coarsely over a strainer placed in a large bowl. Use the back of a spoon to squeeze and press out as much water as you can. This step is crucial as it prevents a watery dip. (Chef’s Tip: Let it sit for 10 minutes to drain more water!).
Combine Ingredients: In a mixing bowl, combine the drained cucumber with the Greek yogurt, minced garlic, chopped dill, olive oil, lemon juice, lemon zest, and salt. Mix everything until well incorporated.
Chill and Meld: Cover the bowl with plastic wrap and refrigerate for at least an hour. This allows the flavors to meld beautifully, enhancing the taste.
Serve: Give your tzatziki a quick stir before serving. Adjust any seasoning if necessary (a little more salt or lemon juice always works wonders!).
Common Mistakes to Avoid:
- Don’t skip the draining of the cucumber; it really makes a difference in texture.
- Use fresh ingredients for the best flavor—no substitutions.
Chef’s Tips:
- Taste your tzatziki as you make it; adjust to your liking!
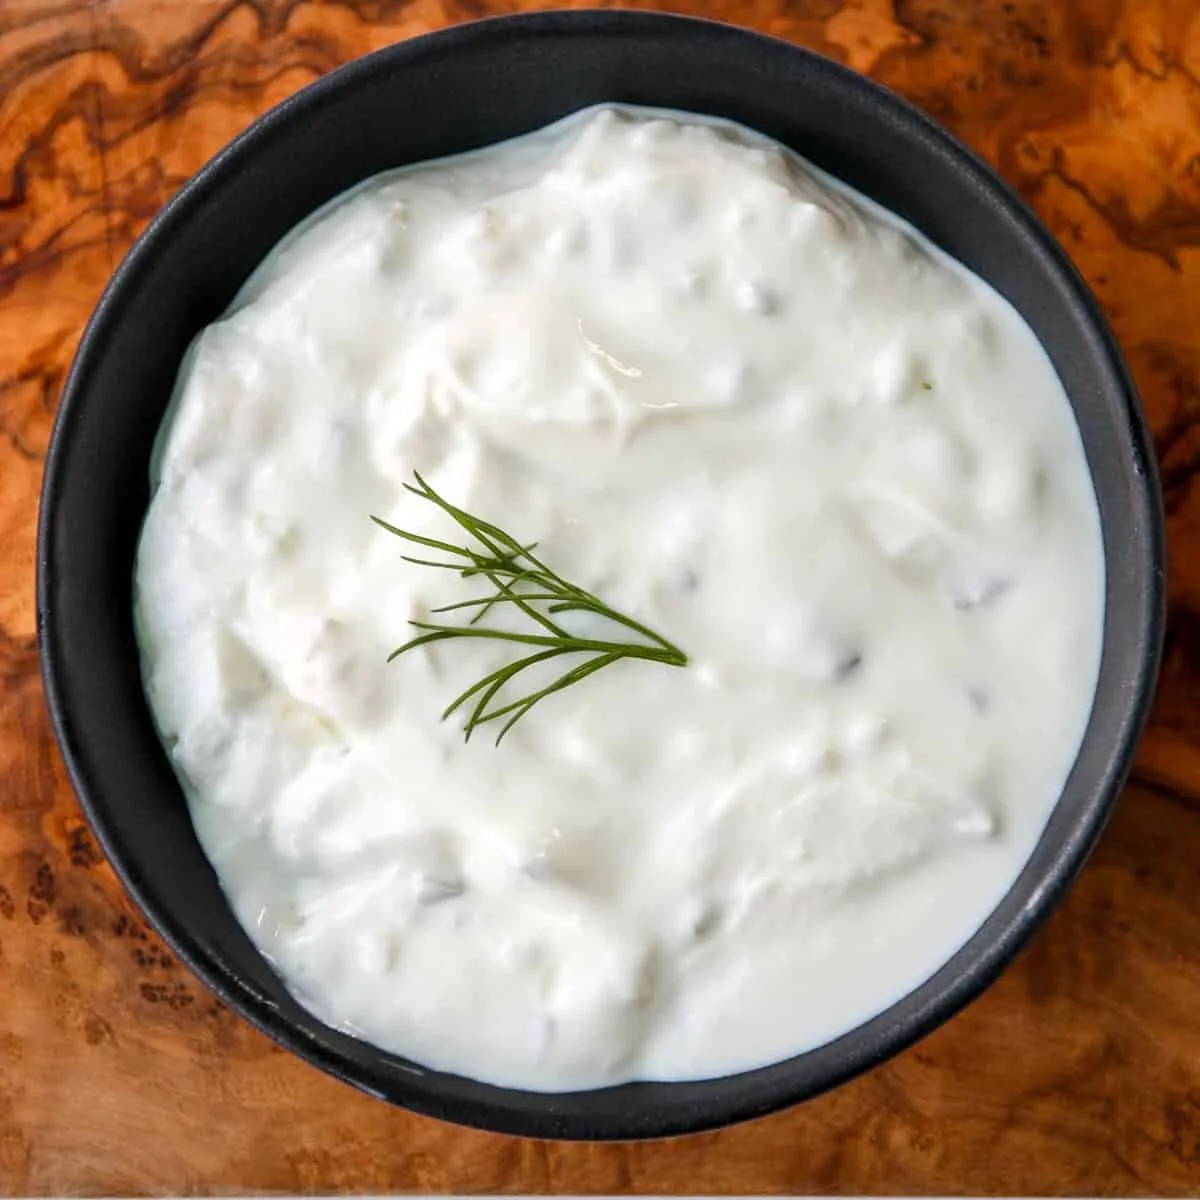
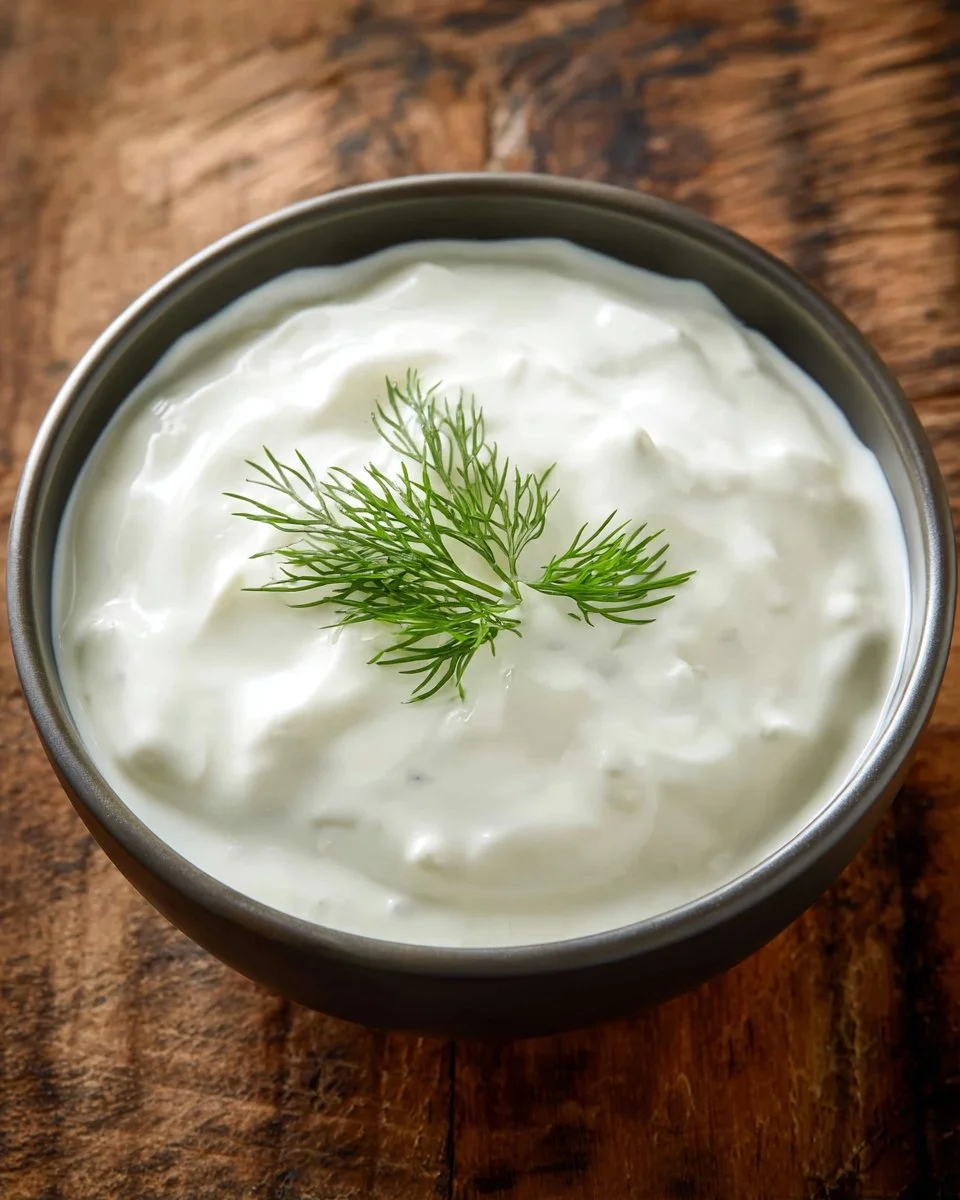
- Serve it in a shallow dish for presentation, drizzling a little olive oil on top for elegance.
Expert Tips & Tricks
Storage Recommendations: Tzatziki can be stored in an airtight container in the fridge for up to 5 days. Just give it a good stir before serving.
Make-Ahead: This dip is perfect for meal prep! Whip it up the day before your gathering to let it sit overnight for the best flavor.
Troubleshooting: If your tzatziki turns out too watery, try adding a bit more yogurt or a sprinkle of cornstarch to thicken it.
Refreshing Ingredients: Consider incorporating grated radish for an extra crunch, or chopped mint for a fresh twist.
Freezing: While I wouldn’t recommend freezing tzatziki (it may change texture), you can freeze the individual ingredients you might use for later—including grated cucumbers in an ice cube tray.
Customizations: Don’t hesitate to experiment! Add roasted red peppers for color or spice things up with a pinch of cayenne.
Serving Suggestions
Tzatziki is incredibly versatile! Serve it alongside grilled chicken skewers, gyros, or roasted vegetables. Pair it with warm pita bread for a simple yet satisfying appetizer. For a lovely presentation, drizzle with additional extra virgin olive oil and garnish with a sprig of fresh dill. It’s a fantastic addition to any picnic or barbecue and brings a refreshing touch to heavy meals.
Variations & Substitutions
For those with dietary restrictions or a desire for new flavors, consider these options:
- Vegan alternative: Substitute Greek yogurt with cashew yogurt or coconut yogurt for a dairy-free version.
- Spicy kick: Add some finely chopped jalapeños or red pepper flakes for a spicy tzatziki!
- Herb swaps: Try thyme or cilantro for a different flavor profile.
- Seasonal Variants: In the fall, incorporate roasted garlic instead of fresh for an earthy twist.
Nutrition & Storage Info
- Prep Time: 15 mins
- Cook Time: 0 mins
- Total Time: 1 hr 15 mins (including chill time)
- Yield: Approximately 4 servings
- Estimated Calories per Serving: About 120 calories
Storage Instructions: Keep unfinished tzatziki in an airtight container in the fridge. It lasts about 5 days but is best consumed within the first few days for maximum freshness.
FAQ Section
Can tzatziki be frozen?
While you can freeze the individual ingredients, tzatziki itself doesn’t freeze well due to changes in texture.How can I make tzatziki less garlicky?
Simply reduce the amount of garlic to suit your taste, or use roasted garlic for a milder flavor.Can I use regular yogurt instead of Greek?
Yes, but the tzatziki will have a runnier consistency. Strain it through a cheesecloth to achieve a thicker texture.What if my tzatziki is too watery?
You can thicken it by adding more yogurt, or if you have time, let it drain further using a fine mesh strainer.What dishes pair well with tzatziki?
Grilled meats, falafel, vegetable skewers, and pita bread all make great companions!How do I know if my tzatziki is still good?
Check for freshness by smell and look. If it smells sour or off, discard it.What is the best way to serve tzatziki?
Serve it chilled in a bowl, garnished with a drizzle of olive oil and fresh herbs.Can I add more spices or flavors?
Absolutely! Don’t hesitate to experiment with various spices or herbs to create your ideal version.How long should I let tzatziki chill?
A minimum of one hour is recommended for the best flavor meld, though longer is even better!Is tzatziki gluten-free?
Yes, tzatziki is naturally gluten-free, making it a great dip for those with gluten sensitivities!
Conclusion
This tzatziki recipe is not just another dip; it’s a celebration of flavors wrapped in personal memories and warming comfort. By making it at home, you’re not just feeding your stomach but nurturing your soul and creating cherished moments with every bite. I encourage you to give it a whirl and let it become a staple on your table. I can’t wait to hear your thoughts and your own variations—drop a comment below! And for more delicious Mediterranean recipes, check out my blog’s collection! Happy cooking!
PrintTzatziki Triumph: The Ultimate Homemade Greek Yogurt Dip
A delicious and creamy Greek yogurt dip, perfect for summer gatherings and versatile enough to accompany many dishes.
- Prep Time: 15 minutes
- Cook Time: 0 minutes
- Total Time: 75 minutes
- Yield: 4 servings 1x
- Category: Appetizer
- Method: No cooking required
- Cuisine: Greek
- Diet: Vegetarian
Ingredients
- 2 cups plain Greek yogurt
- 1 long English cucumber
- 2 cloves garlic (peeled and minced)
- 2 tbsp finely chopped dill
- 2 tbsp extra virgin olive oil
- 2 tbsp fresh lemon juice
- 1 tsp lemon zest
- Kosher salt to taste
Instructions
- Prepare the cucumber: Grate the cucumber coarsely over a strainer placed in a large bowl. Squeeze out as much water as possible.
- Combine ingredients: In a mixing bowl, combine the drained cucumber with the Greek yogurt, minced garlic, chopped dill, olive oil, lemon juice, lemon zest, and salt. Mix well.
- Chill and meld: Cover the bowl with plastic wrap and refrigerate for at least an hour.
- Serve: Stir the tzatziki before serving and adjust seasoning if necessary.
Notes
Taste your tzatziki while making it and adjust the flavors according to your preference. For best results, serve it chilled with a drizzle of olive oil on top.
Nutrition
- Serving Size: 1 serving
- Calories: 120
- Sugar: 4g
- Sodium: 200mg
- Fat: 7g
- Saturated Fat: 1g
- Unsaturated Fat: 6g
- Trans Fat: 0g
- Carbohydrates: 8g
- Fiber: 1g
- Protein: 6g
- Cholesterol: 10mg


