

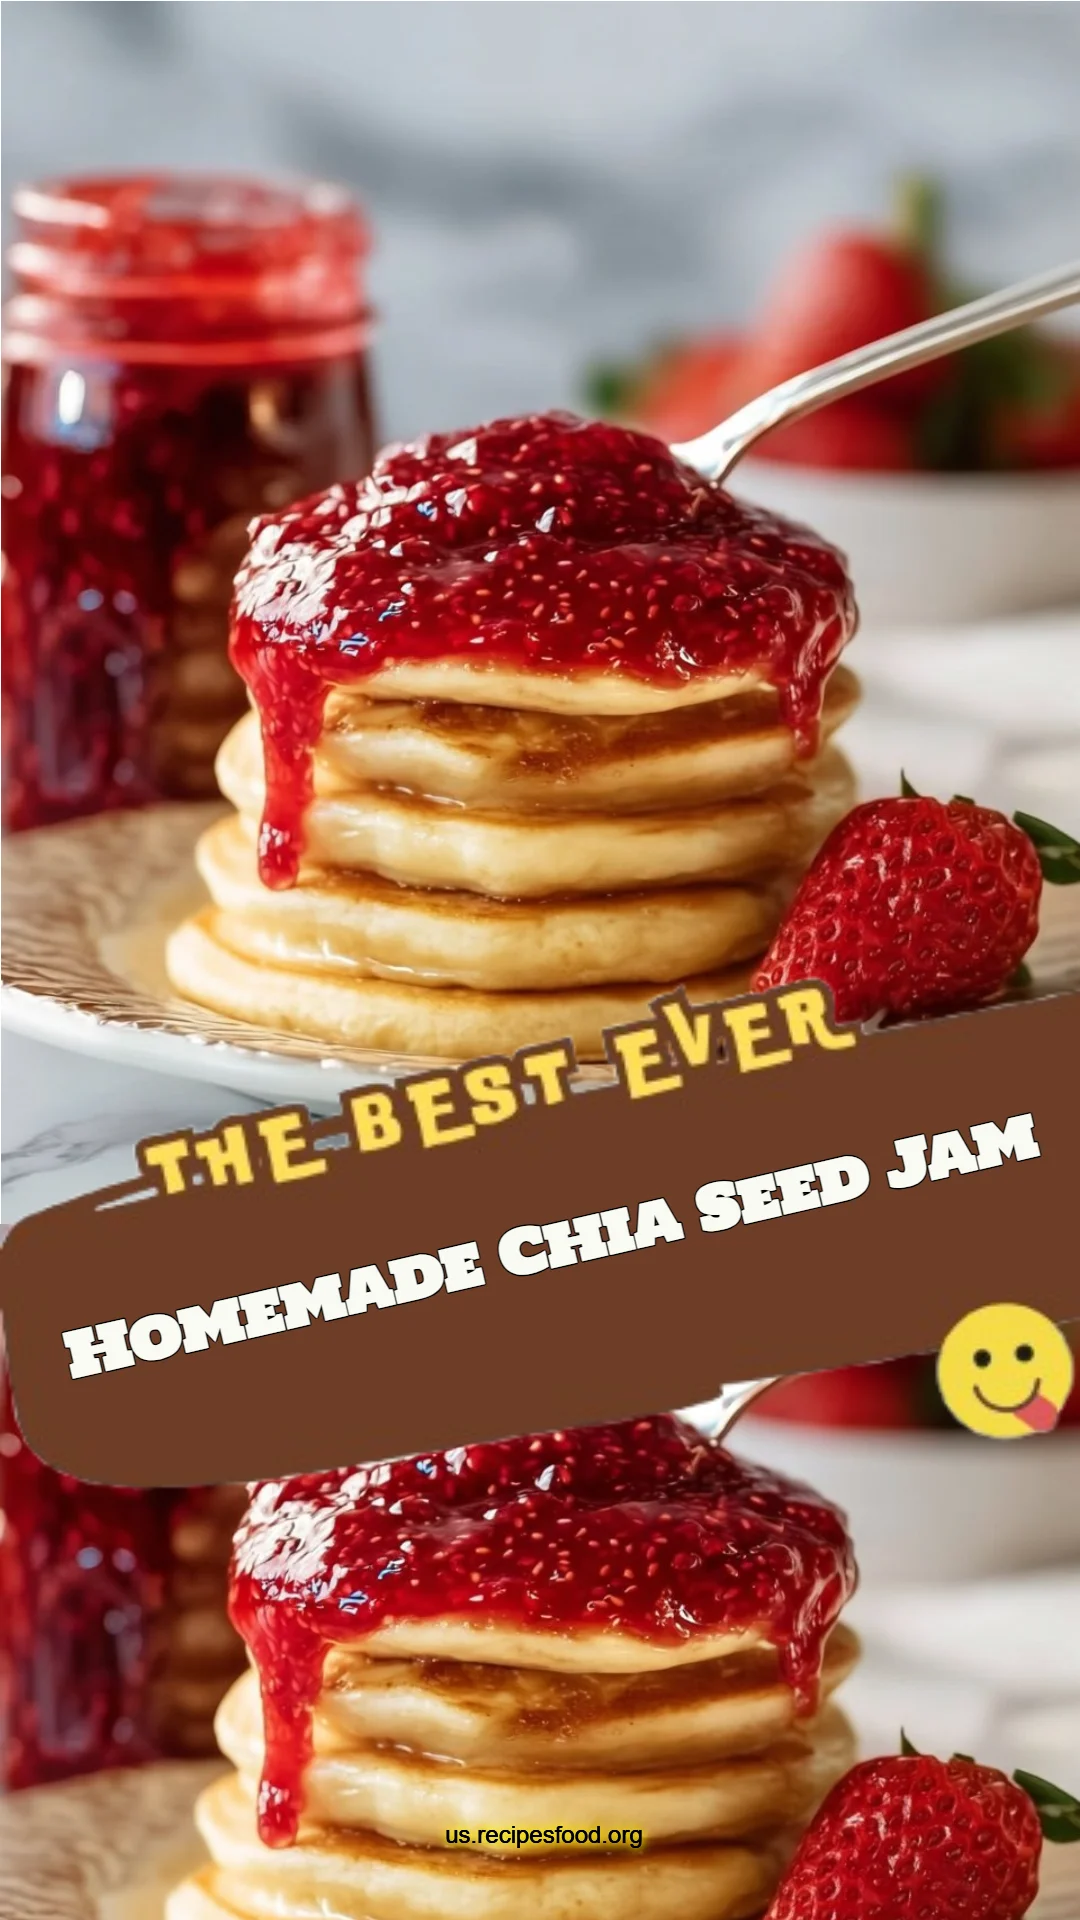
Homemade Chia Seed Jam: A Simple Recipe for Delicious, Guilt-Free Spreads
Ah, the smell of homemade jam wafting through the house—it’s a scent that brings a flood of memories. I can still vividly recall my grandmother stirring a bubbling pot of strawberries on Sunday mornings, the sunlight spilling through the kitchen window as we eagerly awaited breakfast. That nostalgia is precisely what inspired me to whip up my very own Homemade Chia Seed Jam.
This recipe isn’t just about the delightful blend of flavors; it’s about capturing moments and creating something that’s both wholesome and delicious. What makes these little jars of joy special is their simplicity. Unlike store-bought jams, which often come loaded with sugars and preservatives, this homemade version allows you to control every ingredient. Plus, with chia seeds adding a delightful texture and packing in nutrients, it’s a treat you can feel good about serving to your family.
Today, I promise to guide you through this fantastic journey, showing you how to make Homemade Chia Seed Jam that not only tastes divine but also connects to that deep sense of comfort we all crave. So, grab your apron, and let’s get started!
What Are Homemade Chia Seed Jams?
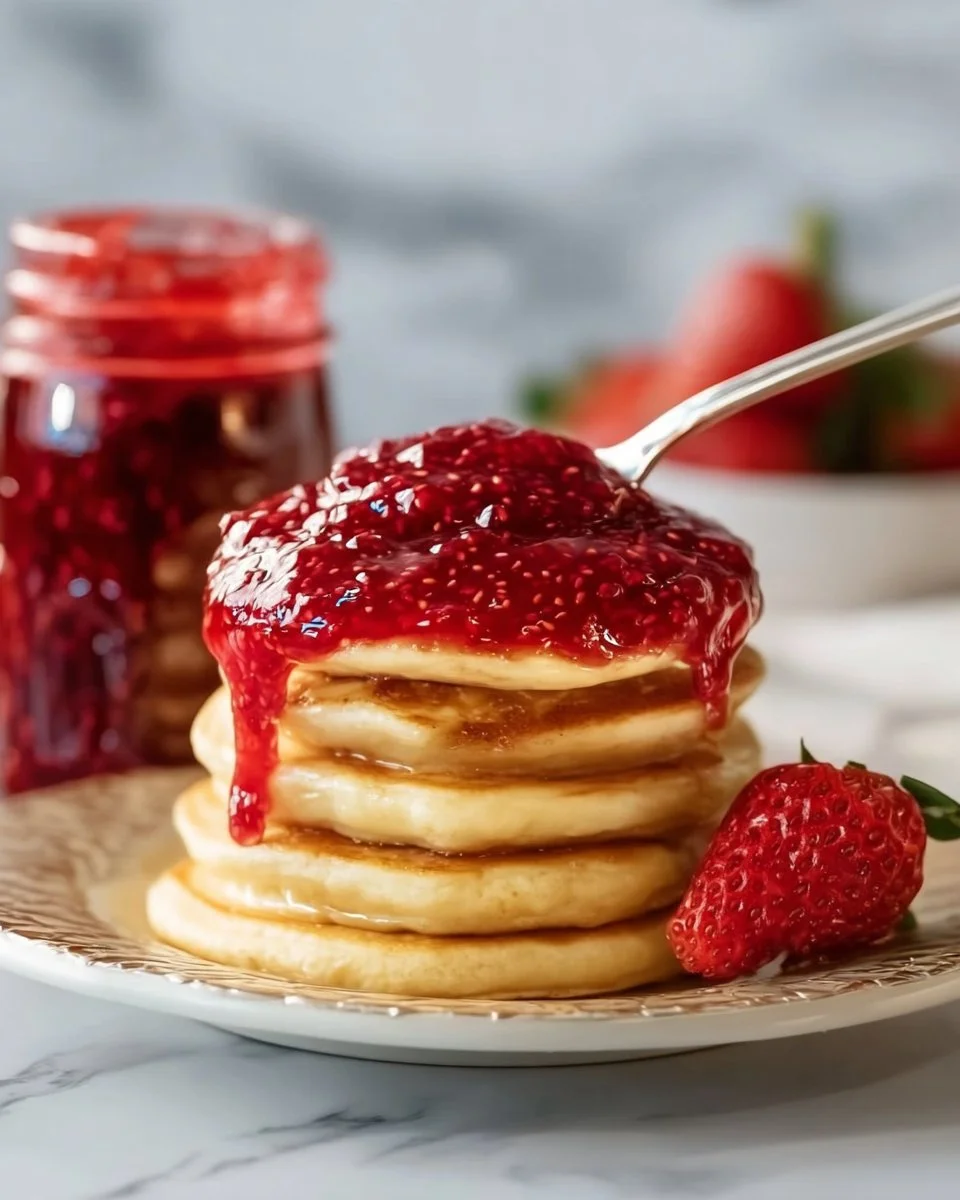
Homemade Chia Seed Jam is a naturally sweetened fruit spread that utilizes chia seeds as a thickening agent. In its essence, chia seeds have been revered for centuries for their health benefits, and they pair remarkably well with fruit like raspberries, blueberries, or peaches. The beauty of this jam lies in its taste and texture—each spoonful bursts with fruity flavor and a delightful, slightly gelled consistency that makes it perfect for spreading.
So, when should you whip up this delicious spread? Any time! It’s a fabulous addition to breakfast toast, a delightful layer in a yogurt parfait, or even a zesty topping for desserts. Whether you’re prepping your kitchen for brunch or crafting a late-night snack, this jam never disappoints.
Why You’ll Love This Recipe
1. Healthier Alternative:
Forget the overly sweet, preservative-packed jars in stores. This Homemade Chia Seed Jam is sweetened to your taste using only 1 to 2 tablespoons of maple syrup or honey, making it a healthy option for everyone.
2. Customizable:
One of my favorite parts about this recipe is how easily it adapts! Whether you want to throw in some vanilla or a hint of lemon, or even exchange raspberries for strawberries—you have total creative control.
3. Cost-Effective:
Why spend a small fortune on artisanal jam when you can make this at home for a fraction of the price? Plus, you can use frozen berries which offer affordability no matter the season!
4. Easy to Make:
Don’t be intimidated! This recipe is perfect for both seasoned and novice cooks. With just a handful of simple steps, you’ll have a gourmet condiment on your hands in no time.
5. Time Investment:
You can have your jam ready in about 30 minutes. That’s right—just a bit of rehydration for the chia seeds, some bubbling fruity magic on the stove, and voilà!
Ingredients Section
2 cups fresh or frozen raspberries: If you have access to fresh berries, go for it! If not, frozen works beautifully and will often save you money. I love using organic brands like Driscoll’s for fresh, or you can go with Cascadian Farm for frozen.
1 to 2 tablespoons maple syrup or honey: Use pure maple syrup if you want a more robust taste. Honey adds a lovely floral note, but be sure to go for raw, unfiltered for the best flavor.
2 tablespoons chia seeds: These little wonders not only thicken but also boost the nutritional profile of your jam.
1/2 teaspoon vanilla extract (optional): A splash of this can enhance the flavor profile significantly.
1 teaspoon lemon juice (optional): If you prefer a little zing, this will balance the sweetness beautifully.
Prep Notes:
- Make sure your fruit is at room temperature for a better mash!
- Measure out your ingredients before you start cooking—this helps streamline the process.
Step-by-Step Instructions
Prep Your Berries: In a saucepan over medium heat, place the 2 cups of raspberries. Stir occasionally and allow them to cook for about 5 to 7 minutes until they break down and become syrupy. If you’re using strawberries, feel free to mash them with a fork or potato masher to achieve your desired texture!
Chef’s Tip: Keep an eye on the heat! If they start to stick, turn down the flame a notch to avoid burning.
Sweeten & Thicken: Once the berries are syrupy, remove the pan from the heat and stir in your sweetener (1-2 tablespoons of maple syrup or honey). Add those fabulous chia seeds and, if you’re feeling fancy, the vanilla extract and lemon juice. Stir it all together until everything is combined well.
Let It Set: Allow the mixture to sit for 10 to 15 minutes. During this time, the chia seeds will absorb the liquid and thicken your jam to the perfect consistency.
Common Mistake to Avoid: Don’t rush this step! Letting it sit is essential for that glorious jam-like texture.
Final Touch: Taste your jam! Adjust the sweetness or acidity as needed. If you prefer a smoother texture, briefly blend with an immersion blender.
Store It Away: Pour your jam into a clean jar or airtight container and refrigerate. It will keep for about a week, if it even lasts that long!
Expert Tips & Tricks
Storage: You can keep your jam in the fridge for up to a week. If you want to extend its life, consider freezing it!
Make-Ahead: Feel free to make this jam in larger batches to use throughout the week. Just remember to properly store it in freezer-safe jars!
Troubleshooting: If your jam is too runny, you can add an extra tablespoon of chia seeds and let it sit a bit longer.
For a special touch: Incorporate herbs like mint or basil for a unique flavor twist—excellent choice for serving on ricotta or brie!
Serving Suggestions
What can you pair your Homemade Chia Seed Jam with? Here are a few of my favorite combinations:
Toast & Bagels: Spread it generously on toasted whole-grain bread or slather it on a bagel with cream cheese for a mouthwatering breakfast.
Yogurt Parfaits: Layer it in a glass with yogurt and granola for a beautiful, vibrant breakfast or snack.
Cheeseboards: Add it to your next cheese platter—it pairs exceptionally well with cheeses like goat cheese or sharp cheddar.
Variations & Substitutions
Want to switch things up? Here are some of my favorite variations:
Berries Galore: Try other fruits like blueberries, strawberries, or even a mix!
Add Spices: Cinnamon or nutmeg would give it a cozy, warm flavor, especially in the fall.
Dietary Adaptations: If you need it vegan, stick with maple syrup, and for lower-carb options, you can use alternative sweeteners like erythritol or stevia.
Nutrition & Storage Info
- Prep Time: 10 minutes
- Cook Time: 10-15 minutes
- Total Time: 20-30 minutes
- Yield: About 1 pint (around 8 servings)
- Estimated Calories per Serving: Approximately 45 calories
- Storage Instructions:
- Room Temp: Not recommended
- Fridge: Up to 1 week
- Freezer: Up to 3 months
FAQ Section
Can I use frozen berries rather than fresh?
Yes, frozen berries work excellent! Just make sure to thaw them a bit before cooking.How do I know when my jam is ready?
It should be thick enough to coat the back of a spoon and have a glossy finish.Can I add other ingredients to my jam?
Absolutely! Figs, dates, and even a splash of balsamic vinegar can add intriguing dimensions.What if my chia seeds don’t thicken the jam?
This could be due to the seeds being old. Always check the expiration date before using them!How can I make this recipe lower in sugar?
Use less sweetener, or swap with a zero-calorie sweetener.Can I blend the jam if I like it smooth?
Yes, an immersion blender will do wonders for a silky texture!What’s the best way to store it?
Store in a sterilized jar with a lid, and keep it in the refrigerator.Can this be canned for longer storage?
While you can can it, it’s best to eat it fresh. Check out proper canning guidelines if you go that route.How do I use this jam in recipes?
Get creative! Use it in desserts, smoothies, or as a filling for pastries!Will chia seeds change the flavor of my jam?
Not at all! They are almost tasteless and will enhance the texture without overpowering the fruit flavors.
Conclusion
Homemade Chia Seed Jam is not just a recipe; it’s an adventure in your kitchen that’ll transport you back to cherished times, filled with flavor and love. I encourage you to give this simple recipe a try; I promise you’ll be pleasantly surprised by the easy process and delightful results.
I’d love to hear how your jam turned out! Please drop a comment below with your thoughts or any creative twists you tried. And don’t miss out on exploring other recipes on the blog—who knows what delicious endeavor awaits you next?
Homemade Chia Seed Jam
A simple, guilt-free spread made with fresh or frozen raspberries and chia seeds.
- Prep Time: 10 minutes
- Cook Time: 15 minutes
- Total Time: 30 minutes
- Yield: 8 servings 1x
- Category: Spread
- Method: Stovetop
- Cuisine: American
- Diet: Vegan
Ingredients
- 2 cups fresh or frozen raspberries
- 1 to 2 tablespoons maple syrup or honey
- 2 tablespoons chia seeds
- 1/2 teaspoon vanilla extract (optional)
- 1 teaspoon lemon juice (optional)
Instructions
- In a saucepan over medium heat, place the raspberries and cook for 5 to 7 minutes until they break down.
- Remove the pan from heat and stir in the sweetener, chia seeds, vanilla extract, and lemon juice until combined.
- Allow the mixture to sit for 10 to 15 minutes to thicken.
- Taste and adjust sweetness or acidity as desired.
- Pour into a clean jar or airtight container and refrigerate.
Notes
Make sure your fruit is at room temperature for better mash. Store in the fridge for up to a week; can be frozen for longer storage.
Nutrition
- Serving Size: 1 serving
- Calories: 45
- Sugar: 6g
- Sodium: 1mg
- Fat: 1g
- Saturated Fat: 0g
- Unsaturated Fat: 1g
- Trans Fat: 0g
- Carbohydrates: 10g
- Fiber: 2g
- Protein: 1g
- Cholesterol: 0mg


