
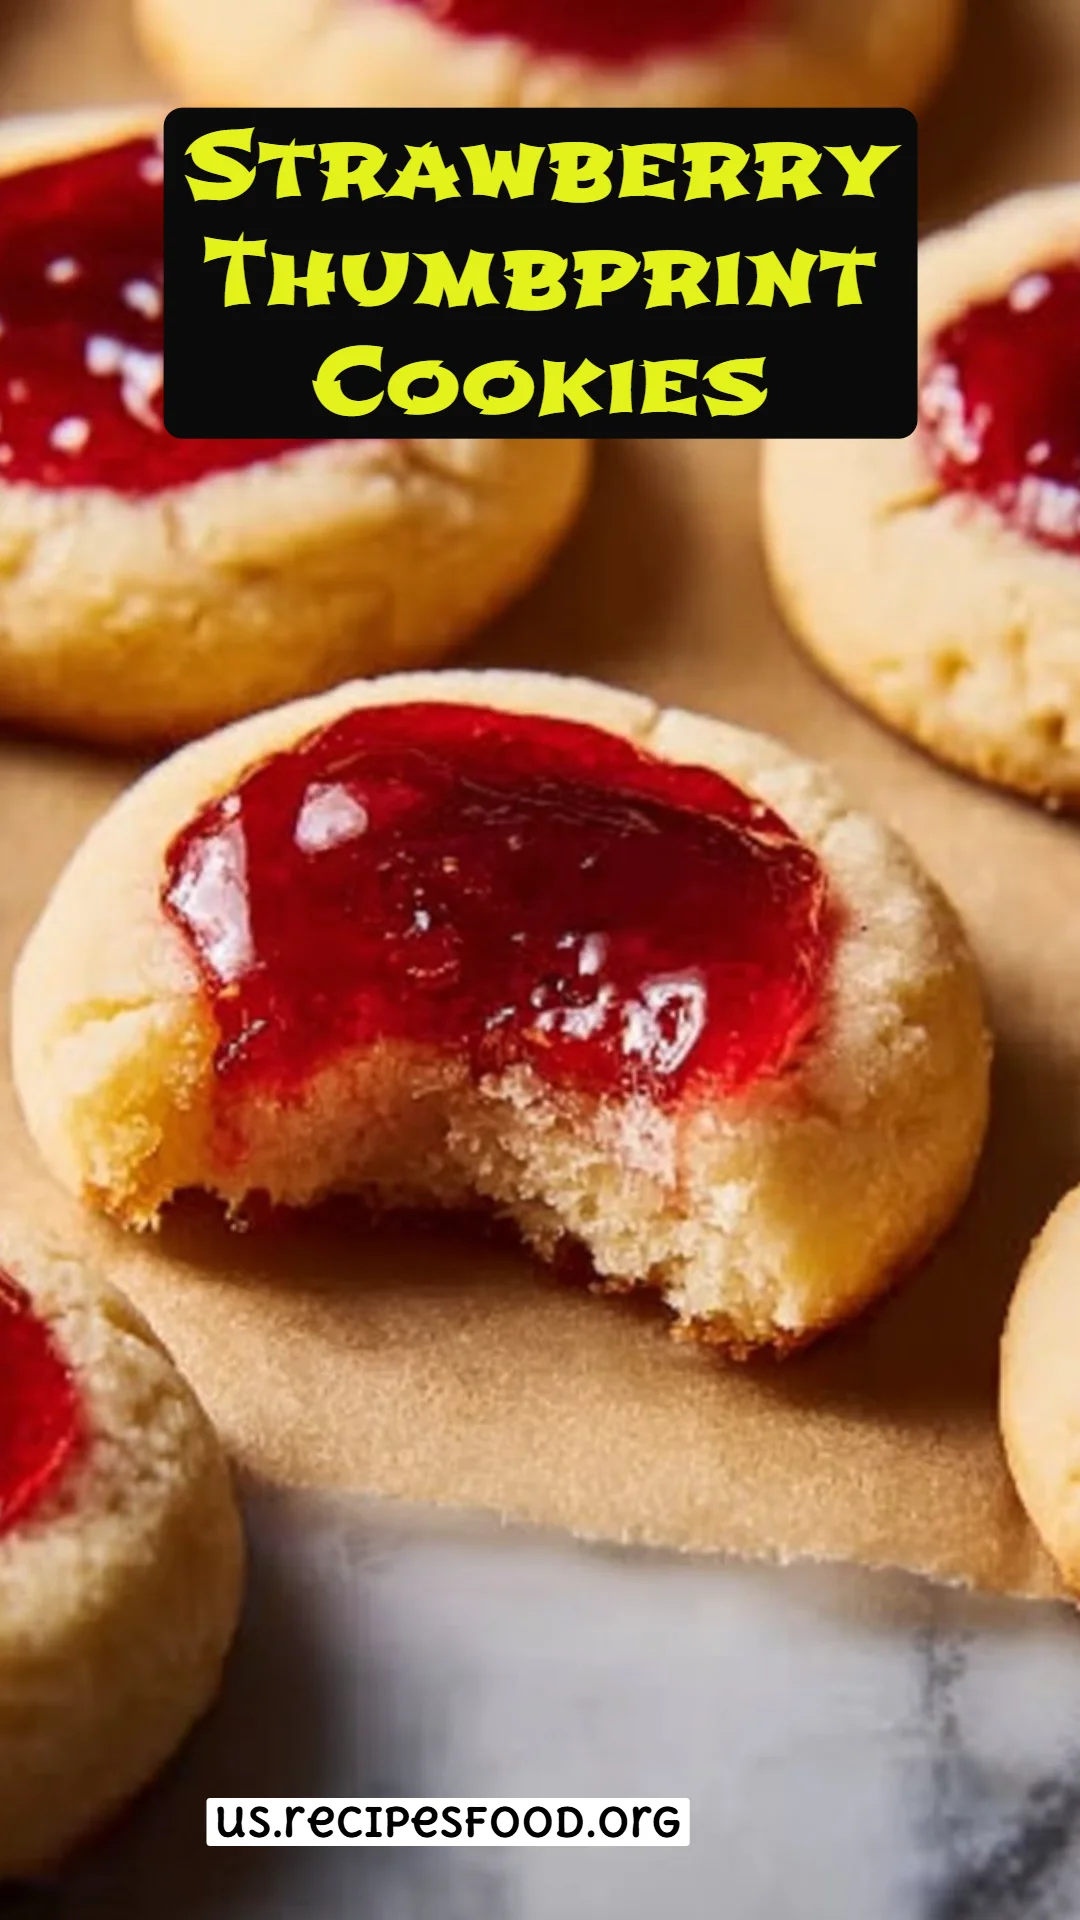
Delightful Strawberry Thumbprint Cookies: A Classic Treat for Every Occasion
Growing up, my kitchen was always infused with the sweet aroma of freshly baked treats, but nothing tugged at my heartstrings quite like Strawberry Thumbprint Cookies. I remember the warm gatherings at my grandmother’s house, where she’d fill her home with the rich scents of butter and vanilla while we sat around the dining table, eagerly waiting for her soft, buttery cookies to emerge from the oven. With their delightful little thumbprint filled with luscious strawberry jam, these cookies were not just a dessert; they were a celebration of family, love, and togetherness.
What makes these cookies particularly special is their simplicity combined with incredible flavor. The melt-in-your-mouth texture of the buttery dough paired with the sweet and tart strawberry filling creates a perfect harmony that transports you back to those cherished moments. Unlike store-bought versions that often lack character and warmth, this homemade recipe is hands-on and personal, allowing you to infuse it with your own love and creativity.
Join me in reviving this timeless treat and making new memories with your loved ones, as I guide you through the ins and outs of crafting Strawberry Thumbprint Cookies that will surely steal the show!
What Are Strawberry Thumbprint Cookies?
Strawberry Thumbprint Cookies are a delightful twist on classic butter cookies, distinguished by the signature indentation in the center, which is typically filled with a fruity jam—usually strawberry. Their origins can be traced back to European baking traditions, where thumbprint cookies have become a beloved dessert enjoyed during holidays and special occasions.
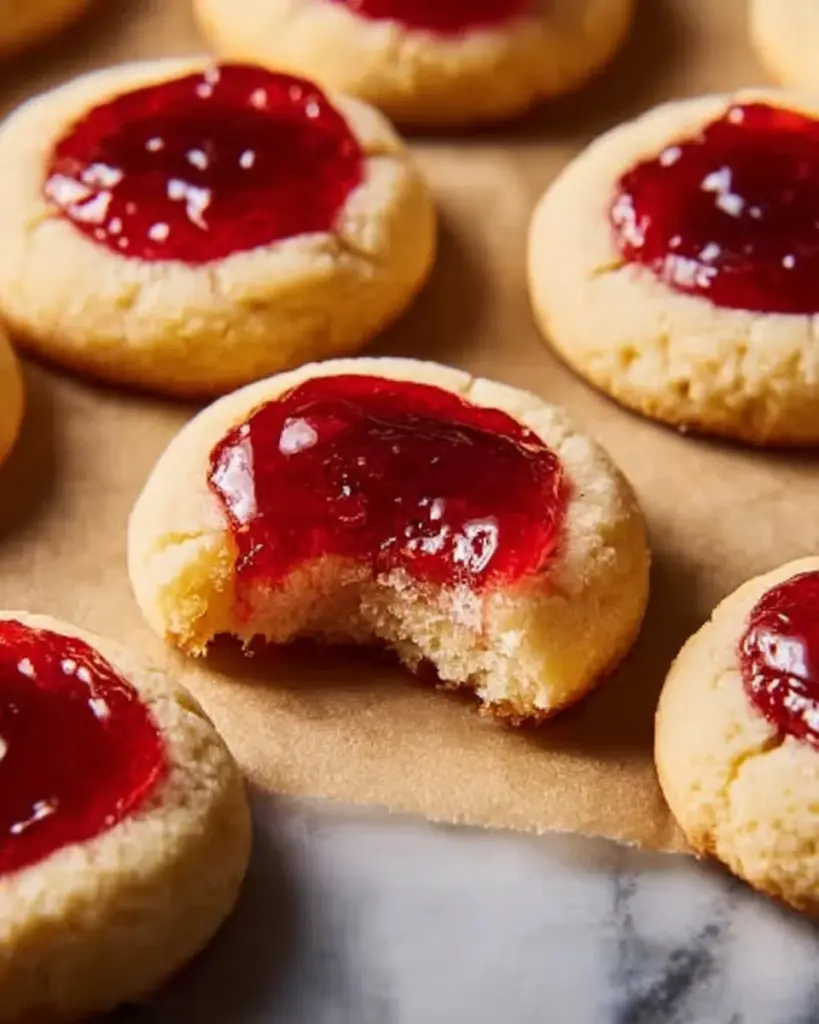
The first bite of a Strawberry Thumbprint Cookie reveals a tender, crumbly texture that practically melts in your mouth. Sweet hints of vanilla pair perfectly with the bright, fruity jam, creating layers of flavor that are both comforting and nostalgic. The unique thumbprint not only serves a practical purpose by holding the jam but also makes each cookie feel like a work of art.
These cookies are perfect for any occasion, whether it’s a cozy afternoon tea, a holiday gathering, or simply an indulgent treat for yourself. With their rich history and delightful taste, Strawberry Thumbprint Cookies have earned their place in the hearts—and stomachs—of many.
Why You’ll Love This Recipe
1. Unbeatable Flavor and Texture
Unlike mass-produced cookies, these Strawberry Thumbprint Cookies boast a melt-in-your-mouth texture that’s both buttery and crumbly. The handmade nature ensures that each cookie is rich and flavorful, with the strawberry jam providing a delightful burst of sweetness.
2. Budget-Friendly
Making these cookies at home is not only a labor of love but also surprisingly cost-effective! With common pantry staples like flour, sugar, and butter, you’ll save money compared to overpriced bakery cookies while still impressing your friends and family.
3. Customization Galore
One of the best aspects of baking these cookies is the possibility for customization. While strawberry jam is the classic, feel free to experiment with raspberry, apricot, or even homemade preserves for a unique twist. You can also add nuts or a drizzle of chocolate for extra flair!
4. Easy Yet Impressive
This recipe strikes the perfect balance between ease and impact. Even if you’re a beginner in the kitchen, the straightforward steps will have you baking like a pro in no time. Your loved ones will be none the wiser about how simple they were to make!
5. A Heartfelt Connection
Each bite of these cookies can evoke fond memories of gatherings and celebrations. They’re not just cookies; they’re little vessels of love and comfort that can help you create new traditions and memories with your family.
Ingredients Section
For these delightful Strawberry Thumbprint Cookies, you will need:
- 1 cup unsalted butter, softened (for better spreading, let it sit out for about 30 minutes before using)
- 1/2 cup granulated sugar
- 1/2 cup powdered sugar (sifting it will give you a smoother texture)
- 1 teaspoon vanilla extract (use pure vanilla extract for a richer flavor)
- 2 cups all-purpose flour (for the best results, measure carefully)
- 1/4 teaspoon salt (to balance the sweetness)
- 1/2 cup strawberry jam (preferably homemade, but a good-quality store-bought jam works well, too)
Prep Notes:
- Ensure your butter is at room temperature for easy creaming.
- Feel free to substitute the butter with a vegan alternative for a dairy-free version.
Step-by-Step Instructions
Preheat the Oven: Start by preheating your oven to 350°F (175°C). Line a baking sheet with parchment paper to prevent sticking.
Cream Butter and Sugars: In a mixing bowl, use a hand mixer or stand mixer to cream together 1 cup of softened unsalted butter, 1/2 cup of granulated sugar, and 1/2 cup of powdered sugar until the mixture is light and fluffy—this should take about 2-3 minutes.
Add Vanilla: Mix in 1 teaspoon of vanilla extract until fully incorporated.
Combine Dry Ingredients: In a separate bowl, whisk together 2 cups of all-purpose flour and 1/4 teaspoon of salt. Gradually add this flour mixture to the butter mixture, mixing until just combined. Don’t overmix!
Form Dough Balls: Roll the dough into small balls, roughly 1 inch in diameter, and place them on the prepared baking sheet, spacing them about 2 inches apart.
Make the Thumbprint: Use your thumb or the back of a spoon to create an indentation in the center of each ball.
Fill with Jam: Carefully fill each indentation with 1/2 cup of strawberry jam. Be generous, but don’t overflow!
Bake: Place in the preheated oven and bake for 12-15 minutes, or until the edges are lightly golden. Keep an eye on them; ovens can vary!
Cool: Allow the cookies to cool on the baking sheet for a few minutes before transferring them to a wire rack to cool completely.
Enjoy your Strawberry Thumbprint Cookies with a cup of tea, or share them with loved ones!
Expert Tips & Tricks
Room Temperature Ingredients: Always start with butter at room temperature to achieve the best texture in your cookies.
Chilling the Dough: If you find the dough too sticky to manage, consider chilling it in the fridge for about 30 minutes before rolling into balls.
Preventing Overflow: Don’t overfill the jam. Too much jam might run over the edges while baking.
Storage: Store cooled cookies in an airtight container at room temperature for up to a week. If you want to freeze them, do so in an airtight container between layers of parchment paper.
Make Ahead: You can prepare the dough in advance and freeze it. When you’re ready to bake, simply let the dough thaw before rolling it into balls and continuing with the recipe.
Common Mistakes: Avoid overmixing the dough, as this can lead to tough cookies. Mix just until the flour is incorporated.
Serving Suggestions
Strawberry Thumbprint Cookies are as versatile as they are delicious! Pair them with a warm cup of herbal tea for an afternoon snack or serve them at a casual gathering alongside fresh fruit and whipped cream for a charming dessert platter. Consider presenting them on a decorative cake stand or in a whimsical cookie jar to add a touch of elegance to any occasion. They’re perfect for Mother’s Day brunch, holiday parties, or just a cozy evening at home.
Variations & Substitutions
Feeling adventurous? Here are some fun ways to customize your Strawberry Thumbprint Cookies:
- Other Jam Flavors: Experiment with different types of jam, like apricot, raspberry, or even lemon curd for a zesty twist!
- Add Nuts: Mix in 1/2 cup of finely chopped nuts (like walnuts or pecans) into the dough for added crunch.
- Gluten-Free Option: Substitute the all-purpose flour with a 1:1 gluten-free baking flour blend for a gluten-free version.
- Vegan Twist: Replace butter with coconut oil and use flax eggs or an egg replacer to make these cookies vegan-friendly.
Nutrition & Storage Info
- Prep Time: 15 minutes
- Cook Time: 15 minutes
- Total Time: 30 minutes
- Yield: Approximately 24 cookies
- Estimated Calories per Serving: 120 calories (based on 1 cookie)
Storage Instructions:
- Room Temperature: Store in an airtight container for up to 1 week.
- Refrigerator: They will last a little longer in the fridge but are best served fresh.
- Freezer: These cookies can be frozen for up to 3 months, making them perfect for make-ahead baking!
FAQ Section
Can I make the dough in advance?
Absolutely! You can prepare the dough up to 3 days in advance and keep it covered in the refrigerator. Alternatively, freeze the formed dough balls and bake them straight from the freezer—just add a minute or two to the baking time.What’s the best jam to use?
While strawberry is the classic choice, feel free to experiment with your favorite fruit jams! Raspberry, blackberry, or peach also work beautifully.Why are my cookies spreading too much?
This could be due to the butter being too warm or melted when mixed. Make sure your butter is softened but not too warm, and chill the dough if necessary.How can I make this recipe lower in sugar?
You can reduce the granulated sugar by half without a significant impact on texture or flavor, or use a sugar substitute that measures equally.Do I have to use jam in the center?
Not at all! You can creatively use chocolate ganache, Nutella, or even a cream cheese frosting for a different twist!Can I use a stand mixer?
Absolutely! A stand mixer can make creaming the butter and sugars much easier. Just be careful not to overmix when adding the flour.What if I don’t have parchment paper?
If you don’t have parchment paper, you can lightly grease the baking sheet with butter or cooking spray to prevent sticking.How do I know when cookies are done?
Look for lightly golden edges. The centers might appear soft but will firm up as they cool.What if I want crispy cookies?
For a crunchier texture, flatten the dough balls slightly before baking and bake them a couple of minutes longer.Can these cookies be made gluten-free?
Yes! Just swap out with a gluten-free all-purpose flour blend. The results will be just as delightful!
Conclusion
These Strawberry Thumbprint Cookies hold a special place in my heart, filled not just with delicious strawberry jam but also with memories and love. I hope this recipe inspires you to bake and create your own sweet moments. Don’t hesitate to share your thoughts and experiences in the comments below—I love hearing from fellow bakers!
For more delightful recipes that evoke warmth and joy, check out my blog’s collection of family favorites, including classic chocolate chip cookies and festive holiday treats. Happy baking!
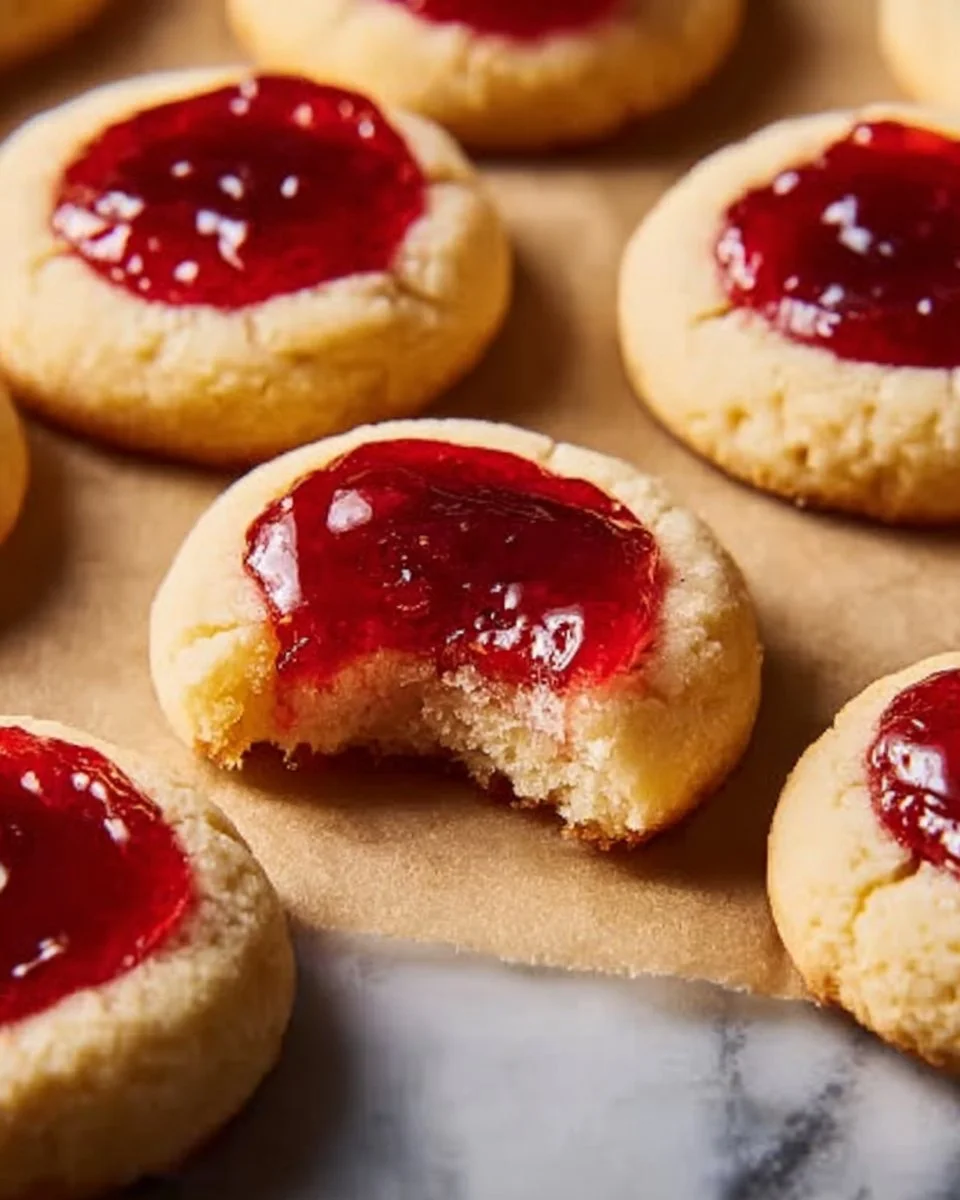
Delightful Strawberry Thumbprint Cookies
A classic treat featuring buttery cookies with a sweet strawberry jam thumbprint, perfect for any occasion.
- Prep Time: 15 minutes
- Cook Time: 15 minutes
- Total Time: 30 minutes
- Yield: 24 cookies 1x
- Category: Dessert
- Method: Baking
- Cuisine: American
- Diet: Vegetarian
Ingredients
- 1 cup unsalted butter, softened
- 1/2 cup granulated sugar
- 1/2 cup powdered sugar
- 1 teaspoon vanilla extract
- 2 cups all-purpose flour
- 1/4 teaspoon salt
- 1/2 cup strawberry jam
Instructions
- Preheat the oven to 350°F (175°C) and line a baking sheet with parchment paper.
- Cream together the butter, granulated sugar, and powdered sugar until light and fluffy, about 2-3 minutes.
- Add the vanilla extract until fully incorporated.
- Combine the flour and salt in a separate bowl, then gradually add to the butter mixture, mixing until just combined.
- Form the dough into small balls, about 1 inch in diameter, and place them on the prepared baking sheet, spaced 2 inches apart.
- Make an indentation in the center of each ball using your thumb or the back of a spoon.
- Fill each indentation with strawberry jam without overflowing.
- Bake for 12-15 minutes, until edges are lightly golden.
- Cool on the baking sheet for a few minutes before transferring to a wire rack to cool completely.
- Enjoy with a cup of tea or share with loved ones!
Notes
These cookies can be made gluten-free or vegan with simple substitutions.
Nutrition
- Serving Size: 1 cookie
- Calories: 120
- Sugar: 8g
- Sodium: 50mg
- Fat: 8g
- Saturated Fat: 5g
- Unsaturated Fat: 3g
- Trans Fat: 0g
- Carbohydrates: 15g
- Fiber: 0g
- Protein: 1g
- Cholesterol: 30mg


